116
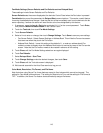
Fax Mode Settings (Screen Defaults and Fax Defaults such as Delayed Start)
These settings include Screen Defaults and Fax Defaults.
Screen Defaults sets the screen displayed at the device's Control Panel when the Fax button is pressed.
Fax defaults lets you set the parameters for Delayed Start communications. This can be a useful feature
for saving time-based phone charges. Note that the fax will be immediately sent from the device to the fax
server repository, however the server will send the fax at the time designated by this feature.
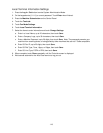
1. If necessary, press the Log In / Out button and enter [11111] or the current password. Touch Enter,
then press the Machine Status button on the Control Panel..
2. Touch the Tools tab, then touch Fax Mode Settings.
3. Touch Screen Defaults.
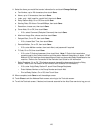
4. Select a Line to enter or change, then touch Change Settings. Touch Save to save any new settings.
• Fax Screen Default. Select General Settings or Address Book This will be the Fax service screen
that users see when they touch the Fax button.
• Address Book Default. Leave this setting at the default of 1, or enter an address book (Fax
mailbox) number to display when the Address Book button is touched by users of the Fax service
screen. Note that the Fax mailbox needs to be created in advance of this setting.
5. Touch Close until the Fax Mode Settings selections are again displayed.
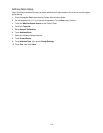
6. Touch Fax Defaults.
7. Select Delayed Start – Start Time.
8. Touch Change Settings, make the desired changes, then touch Save.
9. Touch Close until the Tools tab screen is displayed.
10. Wait several seconds for the Auto Clear service to log you out.
Color Mode, Resolution, File Format, and File Name
Note that when using Server Fax, these features are set to fixed values which cannot be changed. The
setting for Color Mode is Monochrome. The setting for Resolution is Fine, and the setting for File Format is
TIFF. In addition, the Server Fax feature also automatically assigns file names.


