


265
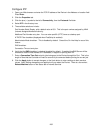
Configure Port 9100 (Raw Printing)
1. Open your Web browser and enter the TCP/IP address of the Device in the Address or Location field.
Press Enter.
2. Click the Properties tab.
3. Click the plus (+) symbol to the left of Connectivity, then the Protocols file folder.
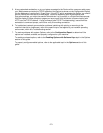
4. Select Port 9100 in the directory tree. (1)
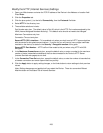
5. The available selections include:
TCP Port Number, with a default value of 9100. This does not need to be changed.
A TBCP Filter checkbox (displayed when PostScript is enabled).
Connection Time-Out entry box.
6. Enter a Time Out value for jobs being sent to the Device through this Port. This is the length of time
that the Controller will wait for an end of job command before printing the current job.
7. Click the Apply button to accept changes, or the Undo button to return settings to their previous
values. Note: Setting changes are not applied until you restart the Device.
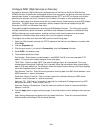
Note: (1) If Port 9100 is NOT displayed in the Properties Tab directory tree, click the Port Status hot
link in the directory tree. Use your mouse to place a check mark in the checkbox on the Port 9100 line.
Click the Apply button, then click the Reboot button (always available on the Status Tab) to remotely
reboot the Device.