132
LAN Fax (PCL Drivers)
You can facsimile documents directly from your PC in the same way you would print a document. This is
known as the LAN Fax.
Initial Setup
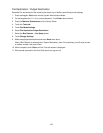
Refer to the TCP/IP Peer to Peer (LPR or Standard TCP/IP) Printing topic, in the Print Drivers section, and
add the printer to the Windows 2000 or Windows XP desktop using a Standard TCP/IP Port. After the
driver has been installed, perform the following steps:
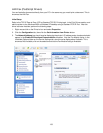
1. Right mouse click on the Printer’s icon and select Properties.
2. Click the Options tab, then click the Get Information from Printer button.
3. The Network Address box should now be displaying the printer’s IP address and a checkmark should
appear in the Enable Bi-Directional Communication checkbox. Also, the Fax Module listing in the
Items box should now be displayed as Available.
Adding a Recipient to a Fax Phonebook
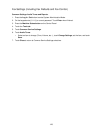
1. From the File menu of your program, select Print to display the Print dialog.
2. Check that the correct (PCL) printer is selected, and then click Properties to display the Properties
dialog.
3. On the Paper/Output tab, select Fax from the Job Type drop-down menu. The options on the Fax tab
will now be available for your selection.
4. Select the necessary settings on the Fax tab.
5. Click the Fax Phonebook button to select your fax recipient or to enter a new recipient.
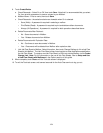
6. If your recipient is not selectable from an existing Phonebook, select New…, select Individual, click
OK, enter the recipient’s Name and Fax number, and click OK.
7. Click the Help button for any additional help you might need.
8. Click Close to close the Fax Phonebook dialog, then click OK.
Sending the Fax
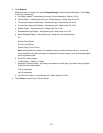
1. When the Print dialog is displayed, click OK.
2. On the Fax Recipient dialog, to send to the previously-entered, new recipient, click Look Up
Phonebook.
3. Double click the name of the new individual previously entered (in step 6 above) and click OK.
Note: Alternatively, you can manually enter in a Name (of up to 30 characters) and a Fax Number.
4. Click OK, then OK again to send your Fax.


