


4–46
COPYRIGHT
©
1998 CANON INC. CANON NP6621 REV.0 FEB. 1998 PRINTED IN JAPAN (IMPRIME AU JAPON)
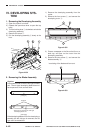
MECHANICAL SYSTEM
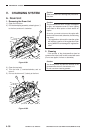
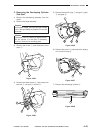
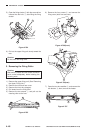
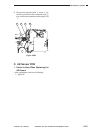
5) Open the fixing shutter t with the screw driver
inserted into the hole u, after lifting the fixing
shutter.
Figure 4-704
6) Pull out the upper fixing unit slowly toward the
rear.
Caution:
Do not touch the fixing roller.
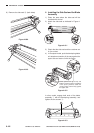
3. Removing the Fixing Roller
Caution:
Wait until the heater and the heater connector
have cooled adequately before starting the
following work:
1) Remove the upper fixing unit. (See “Removing
the Upper Fixing Unit.”)
2) Remove the front and rear cover.
3) Remove the front wire (stopper).
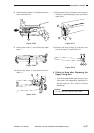
4) Pull toward rear the fixing roller.
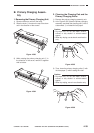
5) Remove the two screws q, and pull out the
cleaning roller to the front.
Figure 4-705
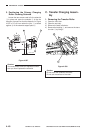
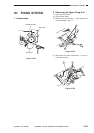
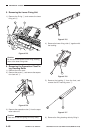
6) Remove the four screws w, and remove the
fixing cover (both front and rear).
Figure 4-706(front)
Figure 4-706(rear)
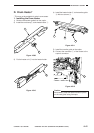
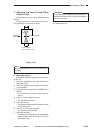
7) Open the two wire saddles e, and remove the
two fastons r; then, remove the heater.
Figure 4-707
1
2
2
4 3
6
7
5