


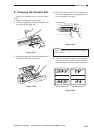
5–2
INSTALLATION
COPYRIGHT
©
1998 CANON INC. CANON NP6621 REV.0 FEB. 1998 PRINTED IN JAPAN (IMPRIME AU JAPON)
II. UNPACKING AND INSTALLING THE COPIER
When a metal part is brought in from a cold to warm environment, droplets of water can develop on the
surface of the part. This phenomenon is called
condensation
, and condensation in a copier can lead to faulty
images. If the copier has been moved from a cold to warm place, leave it alone for about one hour or more
before unpacking it.
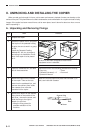
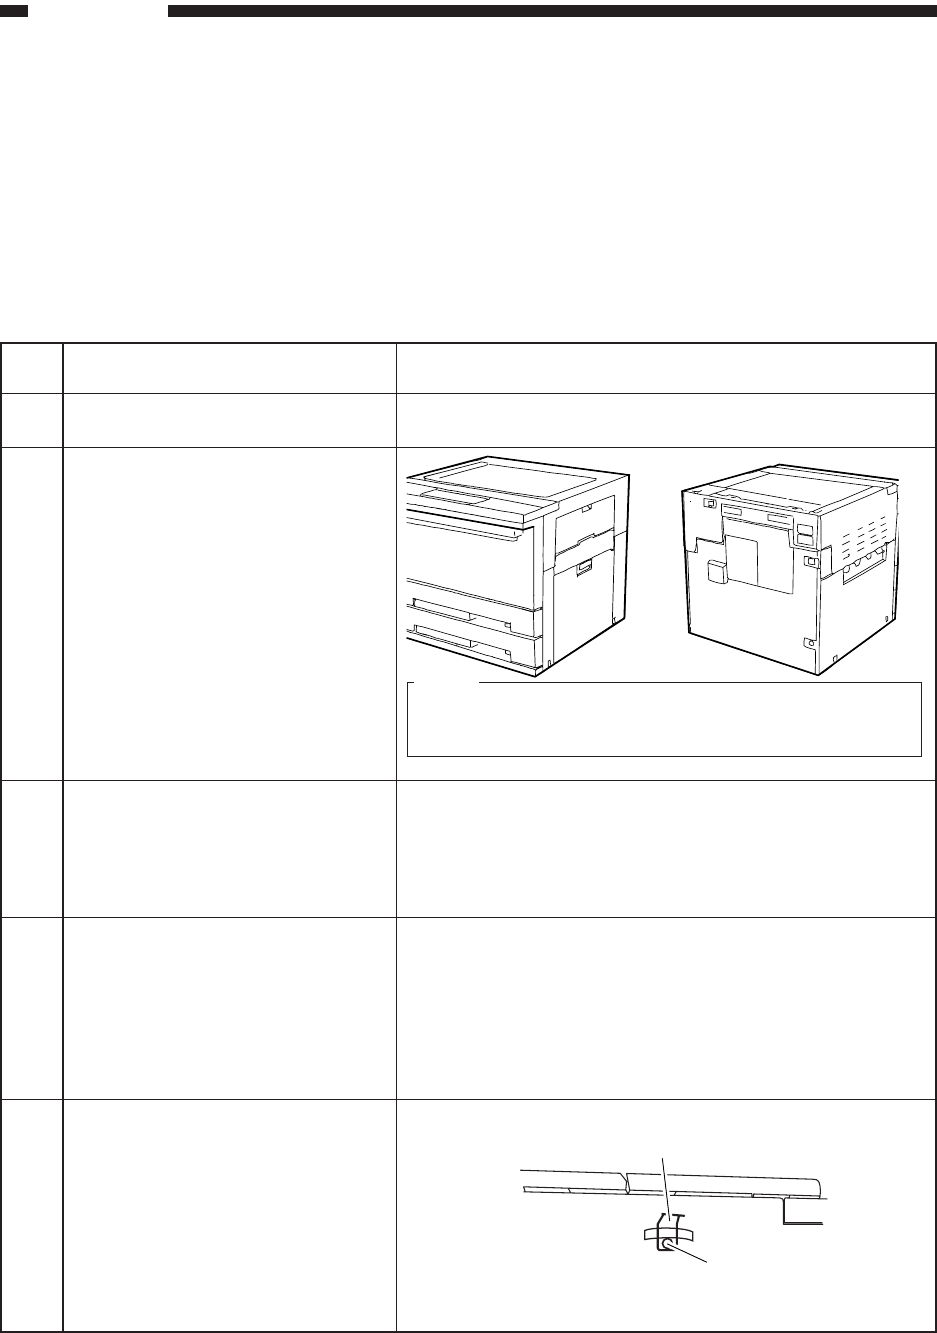
A. Unpacking and Removing Fixings
Step
1
2
3
4
5
Work
Unpack the copier.
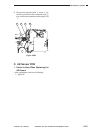
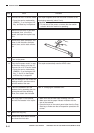
Detach the plastic cover, and place
the copier on the pedestal holding
its grips; be sure to work in a group
of two.
Install the Cassette Feeding
Module-B2, -A2, etc. (accessory)
according to its Installation Proce-
dure if the copier is to be placed
on it.
Open the cardboard box, and take
out all the accessories.
Remove all tape from the outside
of the copier. Take out the cas-
sette from the cardboard box, and
remove the cushions from inside
the cassette; then, slide the
cassette into the copier.
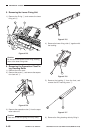
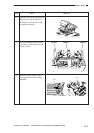
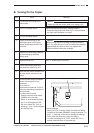
Remove the tape from the scanner
fixing found on the outside of the
left cover, remove the screw, and
slide the fixing to the right to
detach it to the front.
• Keep the fixing stored for
possible relocation of the
machine.
Remarks
Note:
If the A or INCH/AB configuration machine the
copyboard cover is attached.
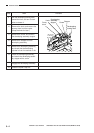
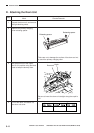
Check that none of the following accessories is missing:
• Copy tray • Toner
• Cassette (Universal) × 2 • Drum unit
• Operator’s Manual
Make sure that the paper size plate and size label (1 pc.
each) are inside the cassette.
Screw
Scanner fixing