167
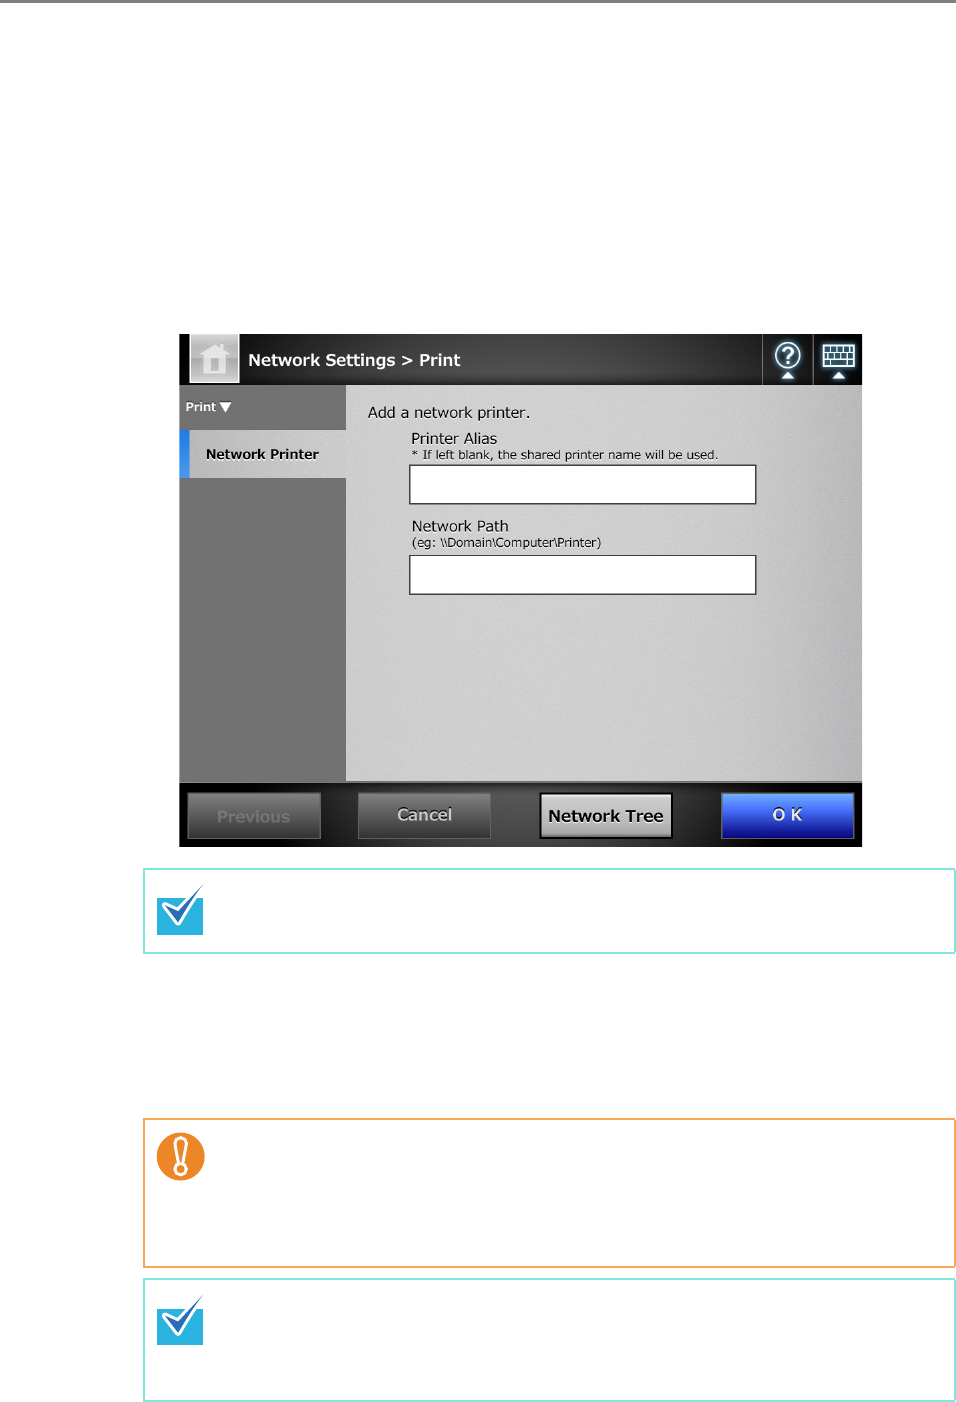
■ Registering a Network Printer (Network Path)
1. Select [Network Settings] J [Print] J [Network Printer].
D The [Network Printer] window appears.
2. Press the [Add] button.
D The window for selecting a network printer appears.
3. Press the [Network Path] button.
D The window for adding a network printer appears.
4. Enter a network printer alias and network path.
5. Press the [OK] button.
D The window returns to the [Network Printer] window, and the registered network
printer is added to the network printer list.
Pressing the [Network Tree] button returns to the window for selecting a
network printer from the network tree.
z A network printer that is already registered cannot be added.
z Once the network printer is registered, do not change the shared name or
printer alias on the print server.
z To change the shared name or printer alias, remove the registered network
printer, change the name, and then register it again.
z The default network printer alias will be the same as the alias selected from
the network tree. For details on changing the folder alias later, refer to
"Renaming a Network Printer" (page 168).
z The authentication window may appear.


