6.9 Setting the Scan Options
364
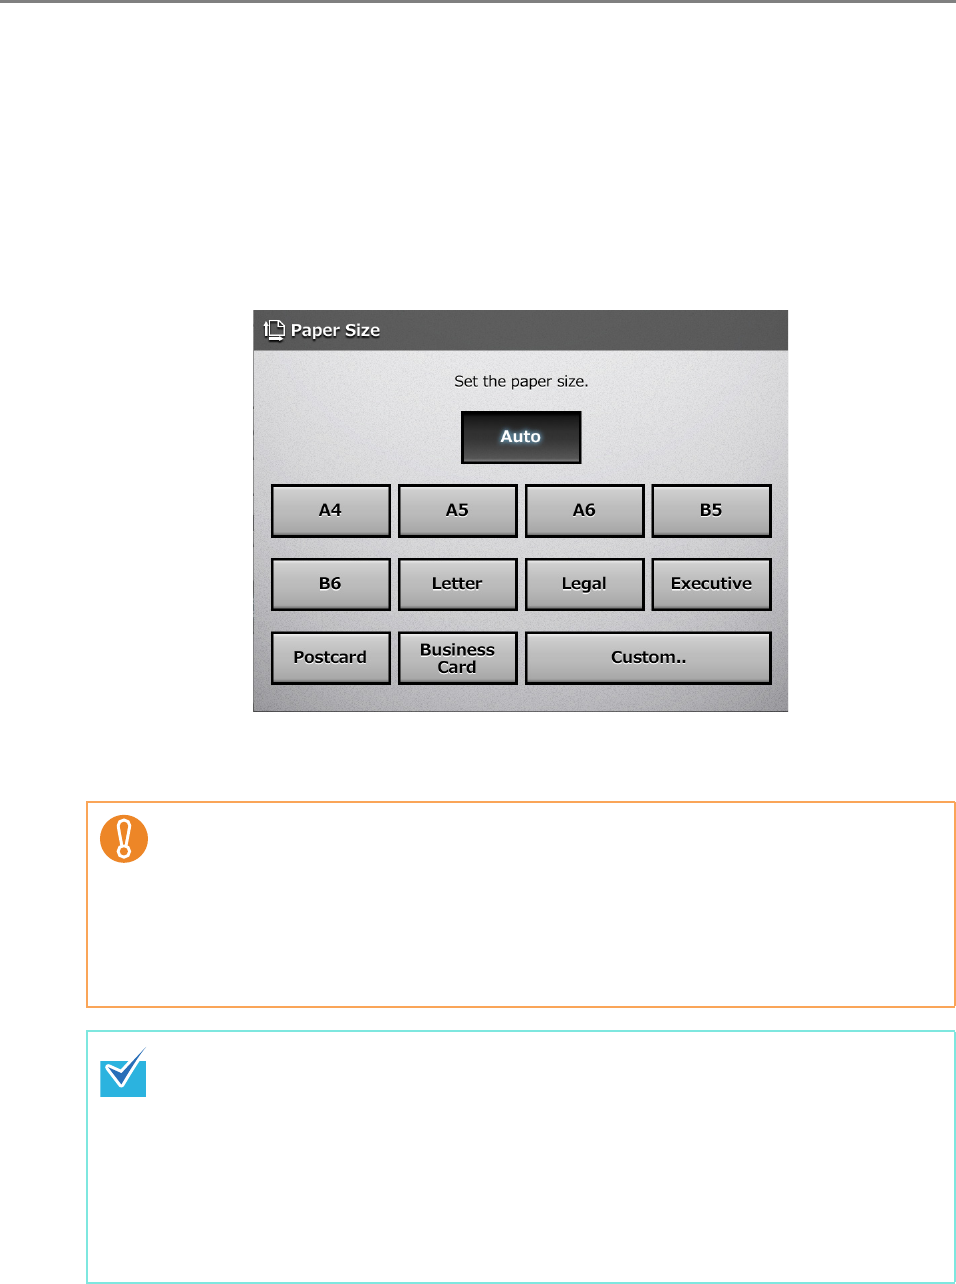
6.9.3 Paper Size
Set a paper size for the document to be scanned.
1. On the [Scan Settings] window, select the [Basic] tab.
2. Press the [Paper Size] button.
D The [Paper Size] window appears.
3. Select a paper size.
D This returns you to the [Scan Settings] window. The selected size is displayed to
the right of the [Paper Size] button.
When the [Auto] setting is used, the paper size is set to the same size (Maximum:
215.9 × 355.6 mm/8.5 × 14 in.) as the actual document being scanned.
However, if using any of the following types of documents, the automatic paper size
detection may not function correctly:
z Paper of weight less than 52 g/m
2
(14 lb)
z Documents that are not rectangular
z Documents of a longer length than legal size
z If a paper size other than [Auto] is selected and only one side of the documents is
scanned, artwork on the reverse side of the paper may bleed through onto the front
side scan. If this happens, blank pages may not be recognized as such, and thus
may not be skipped by the [Skip Blank Page] function. For more details, refer to
"6.9.17 Blank Page Skip" (page 388).
z When the [Custom] button is selected, any paper size for the scanned data can be
specified on the [Custom] window.
If the paper height is 355.6 mm (14 in.) or longer, the paper size setting must be set
to allow long pages. For details, refer to "Long Page Mode" (page 365).


