516
E.8 Editing Local Accounts
This section describes how to edit the local accounts saved in the scanner.
Up to 100 local accounts can be added.
E.8.1 Adding a Local Account
1. Select the [Local Account] tab.
2. Open the [Add Account] dialog box in either of the following ways.
z Select the [Local Account] menu, and then select [Add Account].
z Press the [Add Account] button on the toolbar.
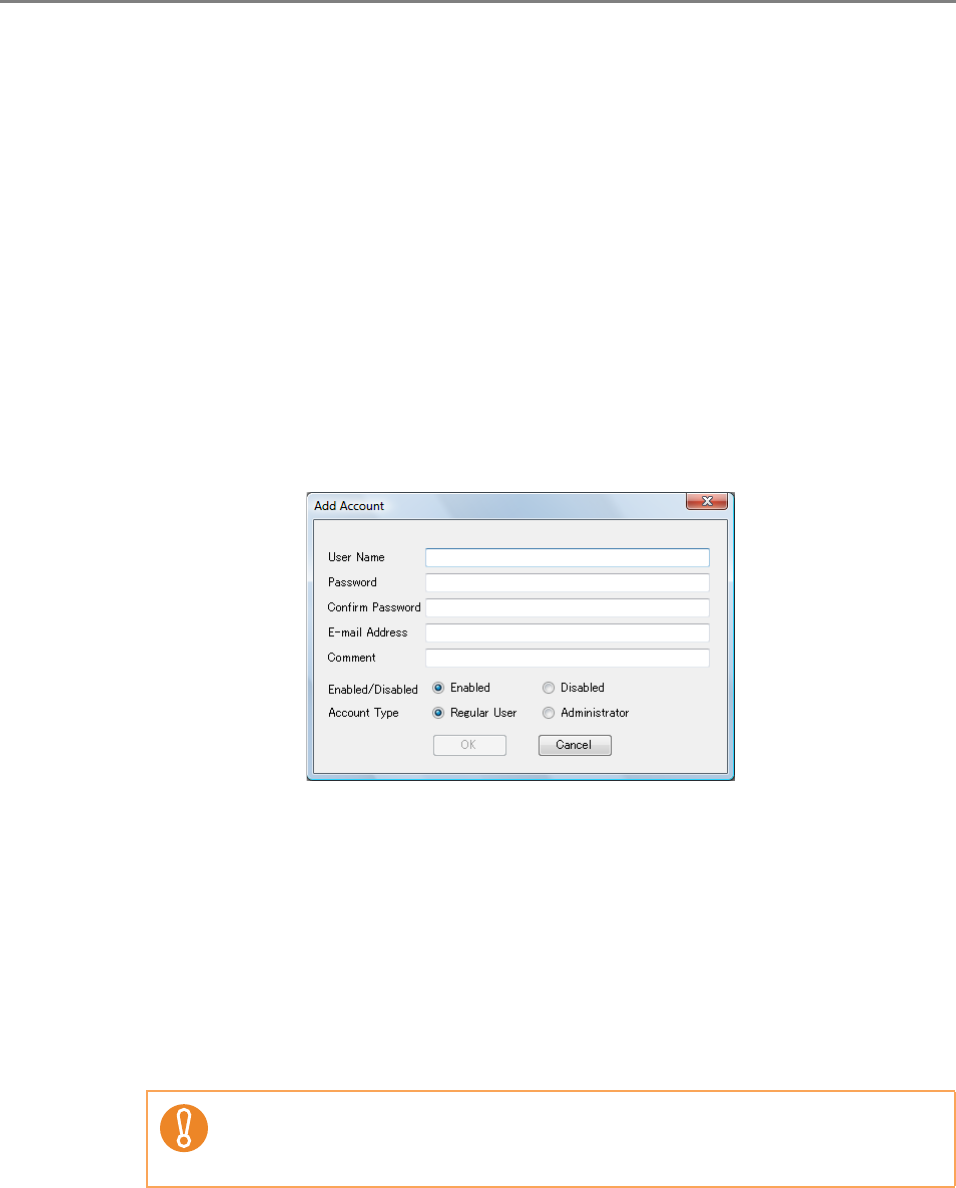
3. Enter the information of the local account to be added.
z [User Name], [Password], and [Confirm Password] may be up to 64 characters
long. Passwords are case sensitive.
z For details about e-mail address settings values, refer to "B.1 e-Mail Address
Setting Values" (page 483).
z For [Comment], enter a comment on the account. Up to 256 characters long
may be entered. [Comment] is case sensitive.
z For [Enabled/Disabled], select whether or not to enable the account. When
[Disabled] is selected, the user cannot login.
z For [Account Type], select [Regular User] for a regular user or select
[Administrator] for the administrator.
4. Press the [OK] button.
D The local account is added.
z "guest", "admin", and "fi-maintenance" cannot be specified as a user name.
z Spaces at the start and end of a user name are omitted if specified.
z White space characters can be used in a password and comment.
