4.16 Maintaining the System
196
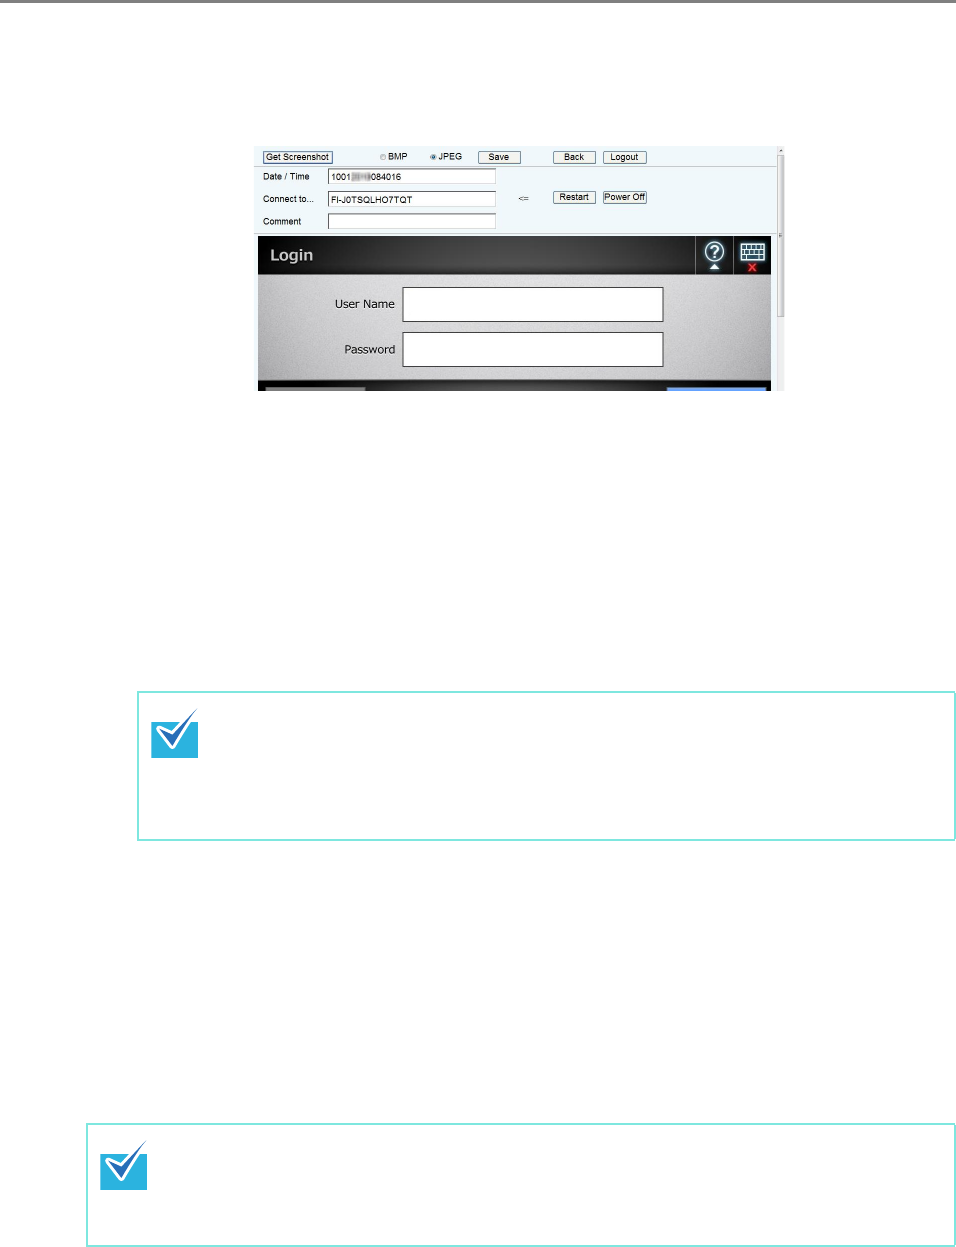
3. Press the [Get Screenshot] button.
D A screenshot of the current window on the LCD touch panel is acquired and
displayed.
4. Select a file format (BMP or JPEG) of the image of the screenshot to be
saved.
5. When you refer to a date/time, the scanner as the connection
destination, or a comment to define a file name for the file to be saved,
enter a proper string for the file name in the relevant input field.
Alphanumeric characters, and symbols with the exception of
" \ / : ; * ? " < > | # & % " can be used.
To use characters of a different language for a file name, enter them into the [Save
As] dialog box.
6. Press the [Save] button.
D The [File Download] dialog box appears.
7. Press the [Save] button.
D The [Save As] dialog box appears.
8. Enter a file name, and specify a folder for saving the file.
9. Press the [Save] button.
D The screenshot is saved in a specified file format.
If you enter [Date / Time], [Connect to], and [Comment], file names are created
in the following order.
z Comment
z Connect to
z Date / Time
Press the [Power Off] button to turn the scanner off.
Press the [Restart] button to restart the scanner.
The scanner cannot be turned off or restarted when a regular user or administrator is
logged into the connected scanner.


