


AT-TQ2403 Management Software User's Guide 41
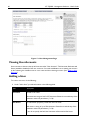
Field Description
Password Specify a password for this user.
Passwords are strings of 4 to 256 characters. Please do not include '<' and '&'.
2. When you have filled in the fields, click Add Account to add the account.
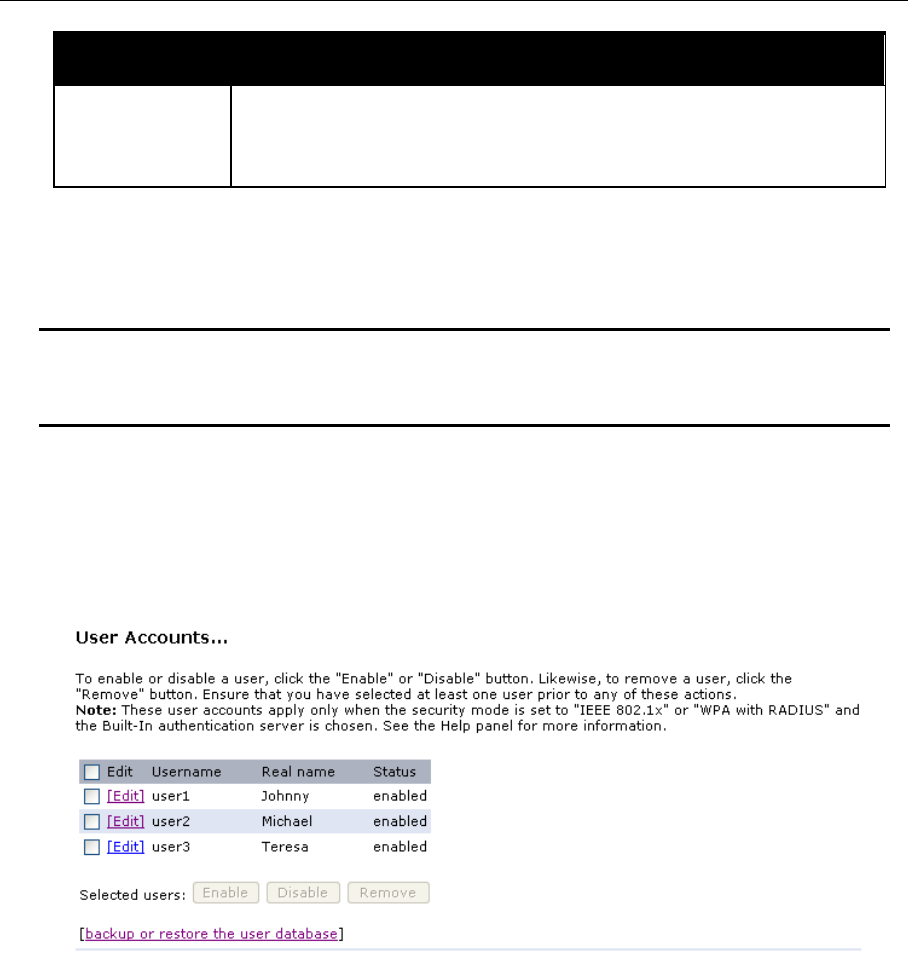
The new user is then displayed in "User Accounts". The user account is enabled by default when you
first create it.
Note: A limit of 100 user accounts per access point is imposed by the Adminis
tration user
interface. Network usage may impose a more practical limit, depending upon the demand
from each user.
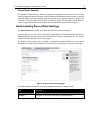
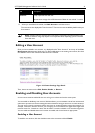
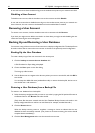
Editing a User Account
Once you have created a user account, it is displayed under "User Accounts" at the top of the User
Management Administration Web page. To make modifications to an existing user account, first click
the checkbox next to the username so that the box is checked.
Figure 14: Cluster Settings Page Detail
Then, c
hoose an action such as Edit, Enable, Disable, or Remove.
Enabling and Disabling User Accounts
A user account must be enabled for the user to log on as a client and use the access point.
You can enable or disable any user account. With this feature, you can maintain a set of user accounts and
authorize or prevent users from accessing the network without having to remove or re-create accounts.
This can come in handy in situations where users have an occasional need to access the network. For
example, contractors who do work for your company on an intermittent but regular basis might need
network access for 3 months at a time, then be off for 3 months, and back on for another assignment.
You can enable and disable these user accounts as needed, and control access as appropriate.
Enabling a User Account
To enable a user account, click the checkbox next to the username and click Enable.