


4-49
FACSIMILE
Contents
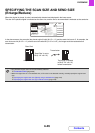
Specifying the send size of the original
Specify the send size as a paper size. If a send size bigger than the scan size is selected, the image will be enlarged. If
a send size smaller than the scan size is selected, the image will be reduced.
The send size cannot be specified when [Long Size] is selected for the scan size, or when the scan size is specified by
numerical values.
1
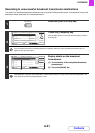
Display the original settings screen.
(1) Touch the [Job Detail Settings] key.
(2) Touch the [Original] key.
☞ JOB DETAIL SETTINGS (page 4-44)
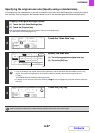
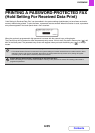
2
Touch the "Send Size" key.
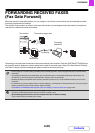
3
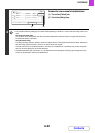
Specify the send size.
(1) Touch the desired send size key.
(2) Touch the [OK] key.
• Depending on the "Scan Size" setting, it may not be possible to select some sizes for the "Send Size". Size keys
that cannot be specified for the "Send Size" are greyed out to prevent selection.
• To specify an Inch size for the send size, touch the [AB Inch] key to highlight the [Inch] side and then specify the
send size.
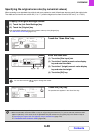
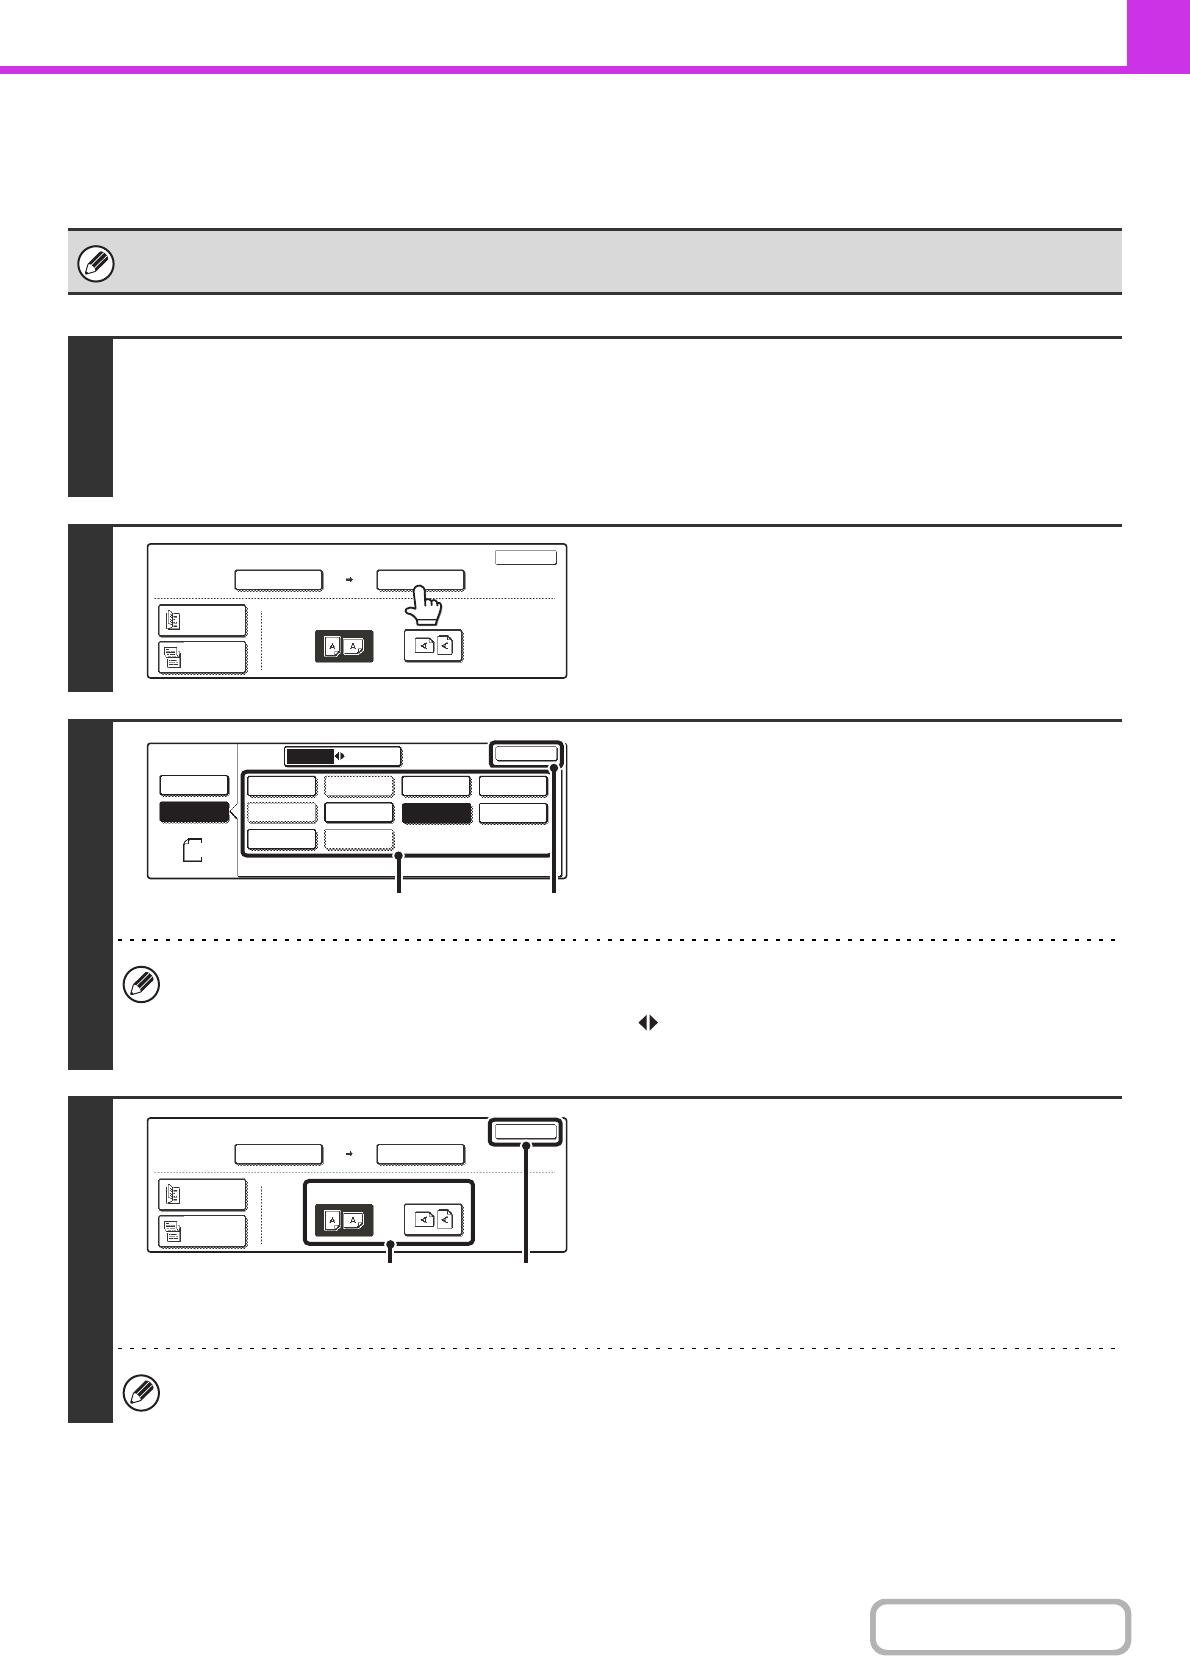
4
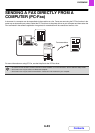
Specify the orientation in which the
original is placed.
(1) Touch the appropriate "Image Orientation"
key.
If the wrong orientation is selected here, the image may
not be sent properly when using enlargement/reduction.
(2) Touch the [OK] key.
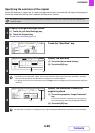
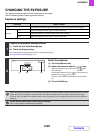
The ratio used for reduction or enlargement of the original will appear between the "Scan Size" and the "Send Size".
Fax
Original
OK
Auto
Scan Size Send Size
100%
Image Orientation
2-Sided
Booklet
2-Sided
Tablet
Auto A4
Fax
Original
Auto
Manual
A4
Inch
AB
OK
A5
A5R
B5R
A4 A3
A4R
B4
B5
216x340
216x343
A4
(1)
(2)
Fax
Original
OK
A3
Scan Size Send Size
141%
Image Orientation
2-Sided
Booklet
2-Sided
Tablet
Auto A4
(1) (2)