


7-36
SYSTEM SETTINGS
Contents
6
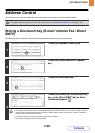
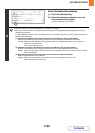
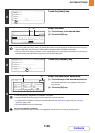
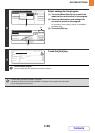
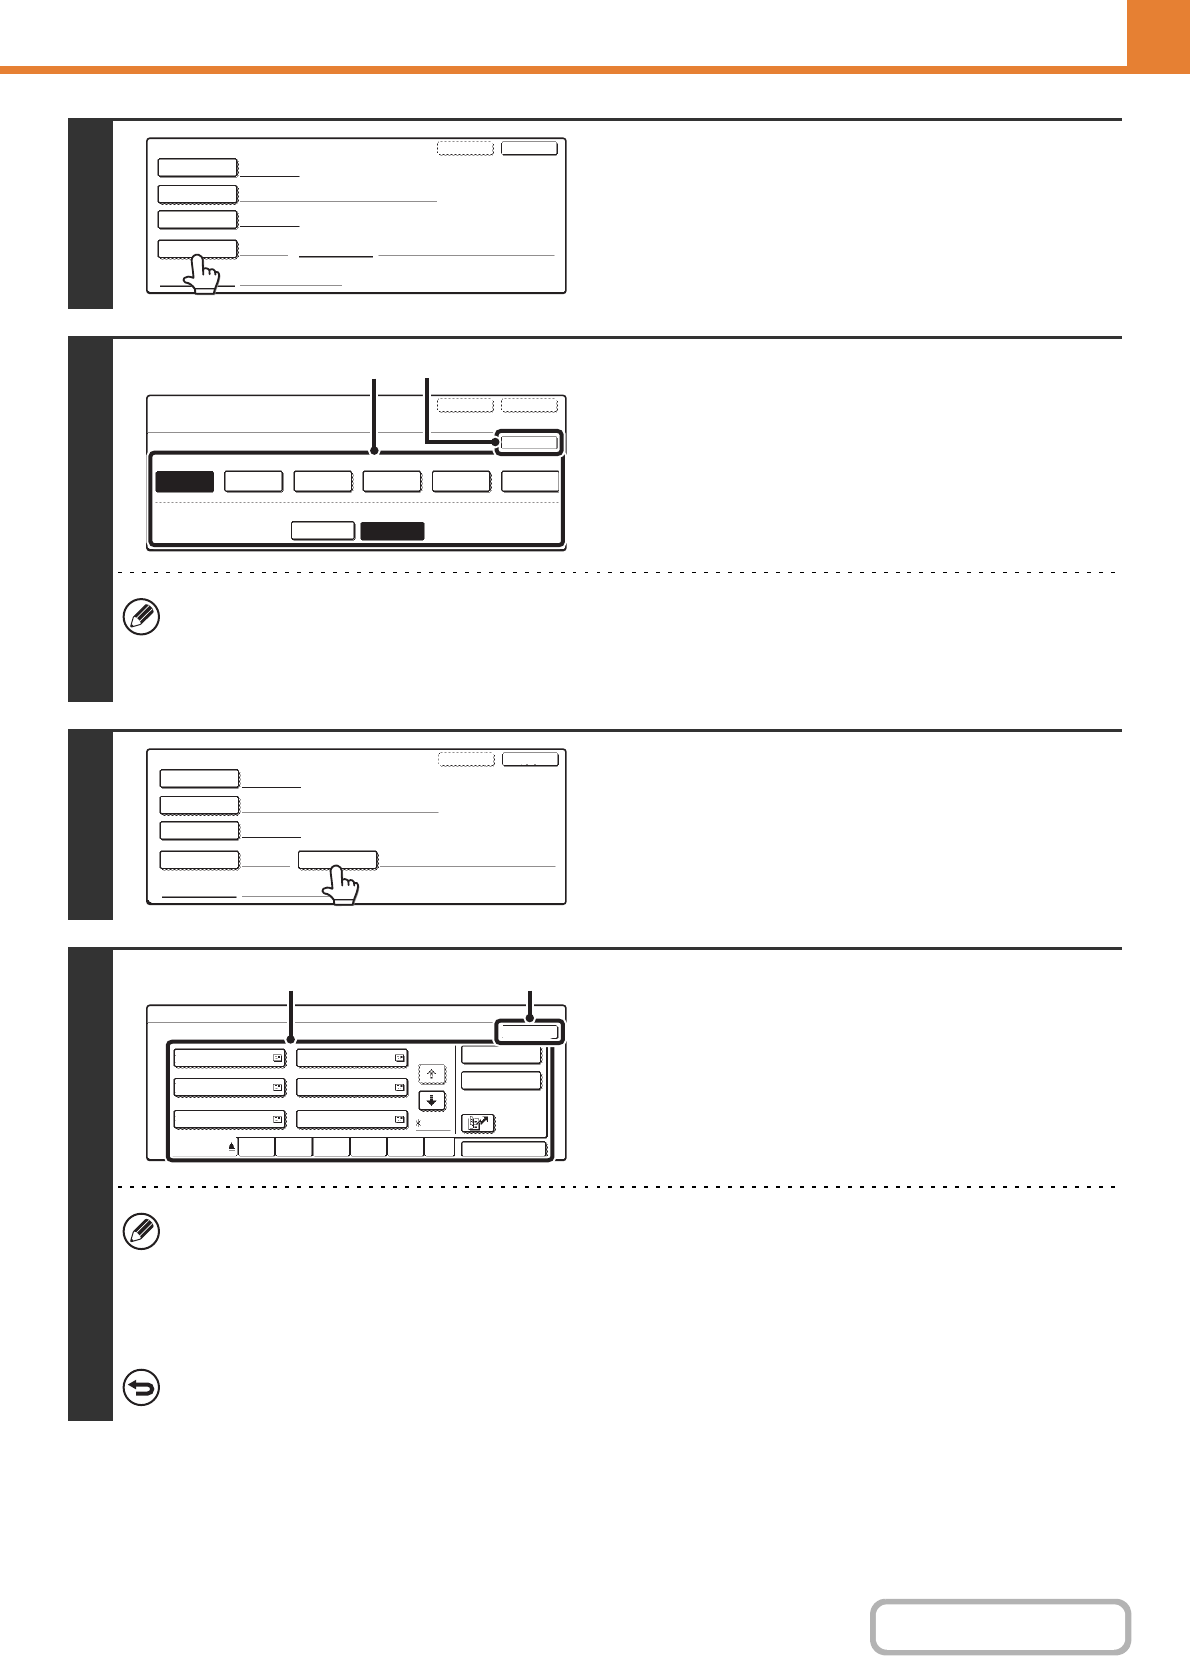
Touch the [Index] key.
7
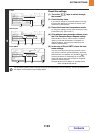
Select the index.
(1) Touch the key of the desired index.
(2) Touch the [OK] key.
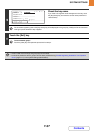
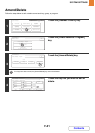
• One of the upper row of keys, [User 1] to [User 6] (the names can be changed) can be selected to have the group
appear in that index when the custom index display is selected instead of the ABC index display.
• The lower keys are for selecting whether or not to include the group in the [Frequent Use] index. It is convenient to
include frequently used addresses and groups in the [Frequent Use] index.
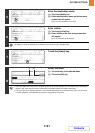
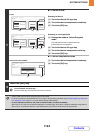
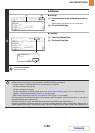
8
Touch the [Address] key.
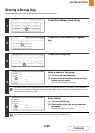
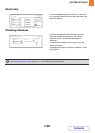
9
Select the destination addresses.
(1) Touch the keys of the desired destinations.
The selected destinations are highlighted and stored in
the group key.
(2) Touch the [OK] key.
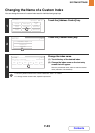
• Touch the [OK] key. "Registration is completed." will appear.
• Keys that cannot be stored as group keys are greyed out to prevent selection.
• To directly enter an address or check the selected addresses, see "Direct entry" (page 7-38) and "Checking
addresses" (page 7-38).
• Up to 500 addresses can be programmed.
If an incorrect address is selected...
Touch the address once again so that it is not highlighted. This removes it from the group being stored.
Direct Address / Group
Search Number
Group Name
Initial
Next Exit
Address
Key Name
Index
001
B
BBB BBB
Direct Address / Group
Select the custom index where you register this address.
Do you register this address at the [Frequent Use], too?
No.001
Index
OK
Next
Yes No
Exit
User 1 User 2 User 3 User 4 User 5 User 6
(2)(1)
Direct Address / Group
Search Number
Group Name
Initial
Next
Exit
Index Address
Key Name
001
B
User 1
BBB BBB
Direct Address / Group
Select address.
OK
Direct Entry
Address Review
Sort Address
1/2
EEE EEE
CCC CCC
AAA AAA
FFF FFF
DDD DDD
BBB BBB
0
UVWXYZJKLMN OPQRST etc.EFGHIABCDFreq.
(2)
(1)