


6-21
DOCUMENT FILING
Contents
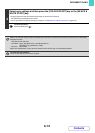
PERFORMING "Scan to HDD"
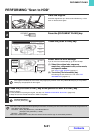
1
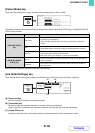
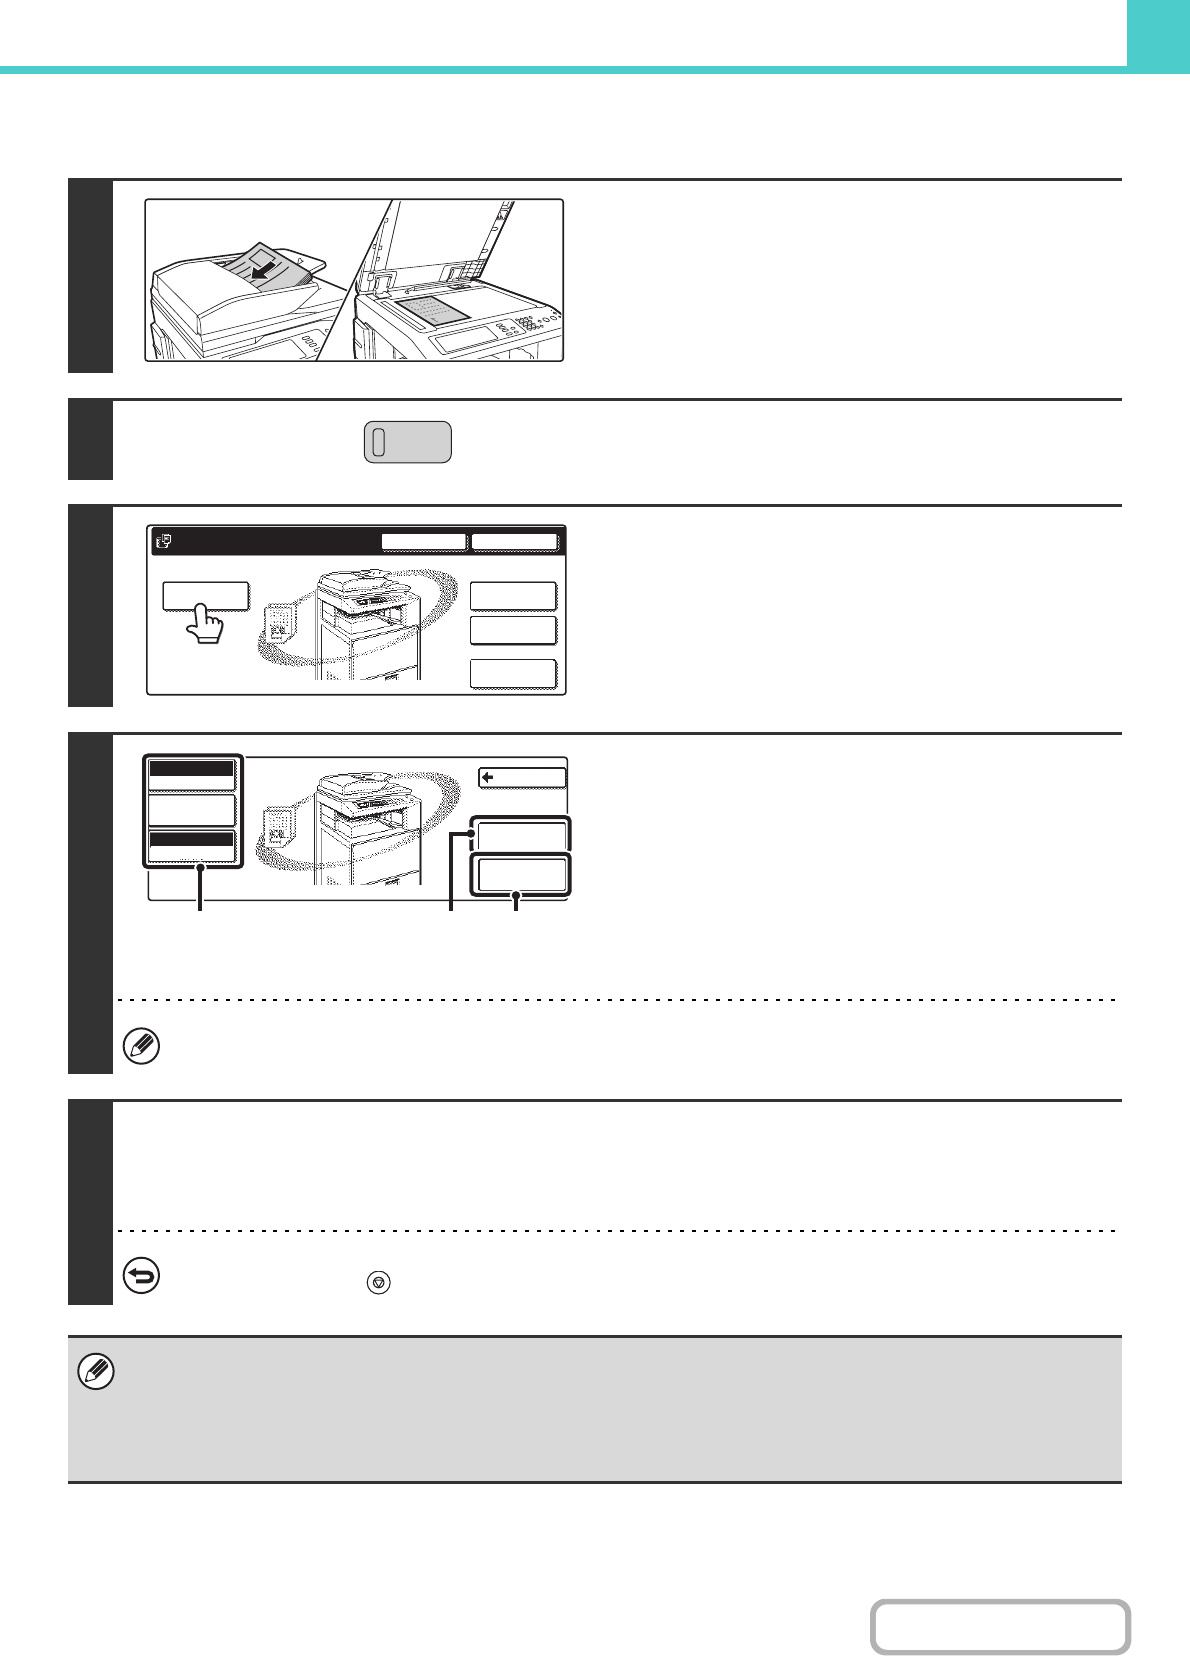
Place the original.
Place the original face up in the document feeder tray, or face
down on the document glass.
2
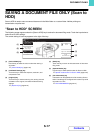
Press the [DOCUMENT FILING] key.
3
Touch the [Scan to HDD] key.
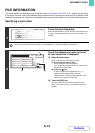
4
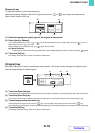
Select Scan to HDD settings.
If you do not wish to select settings, go to the next step.
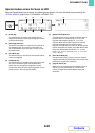
(1) Select the original size, exposure,
resolution, compression ratio, colour mode,
and special modes.
See ""Scan to HDD" SCREEN" (page 6-17).
(2) Touch the [File Information] key.
The settings are the same as for "File". See "FILE
INFORMATION" (page 6-14).
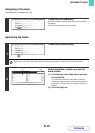
If the original is 2-sided, be sure to touch the [Original] key and then touch the [2-Sided Booklet] key or the [2-Sided
Tablet] key as appropriate for the original.
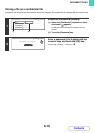
5
Press the [COLOUR START] key or the [BLACK & WHITE START] key .
Scanning begins.
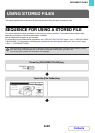
For the procedure for placing the original, see step 4 of "SAVING A FILE WITH "Quick File"" (page 6-10).
A beep will sound to indicate that Scan to HDD is completed.
To cancel scanning...
Press the [STOP] key ( ).
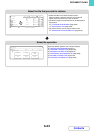
When Scan to HDD is performed without appending file information, the following user name and file name are automatically assigned to the file.
User Name: User Unknown
File Name: Mode_Day-Month-Year_Hour-Minute-Second
(Example: HDD_04042010_112030)
Stored to: Main Folder
When user authentication is used, the user name that was used for login is automatically selected.
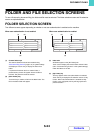
11
DOCUMENT
FILING
File
Folder
Quick File
Folder
External Data
Access
Scan to HDD
HDD Status Search
File Retrieve
File Store
Back
Mono2/Auto
Colour Mode
Special Modes
Original
Auto A4
File
Information
Job Detail
Settings
(1)(1) (2)