Chapter 3: Rackmount and Installation
20
a. Connect the switch's included power cord from the IEC 320 inlet
on its rear panel to an appropriate AC outlet.
b. Turn on the switch.
2. Connect a user station and its attached devices.
a. Connect one end of a Cat5 UTP cable to user port # 1 on the
back of the switch. Connect the other end of the cable to the
RJ45 Cat5 port on the back of the user station.
b. Connect the user station's included power cord from the IEC 320
inlet on its rear panel to an appropriate AC outlet.
c. Turn ON the user station. It will power up and establish
communication with the Paragon switch.
d. Connect a keyboard, a mouse, and a monitor to the user station.
(To control Sun servers with a PS/2 keyboard, please see
Information about Keyboard, Mouse and Video (on page 46)
for additio
nal
information.)
e. Plug in and turn on the monitor.
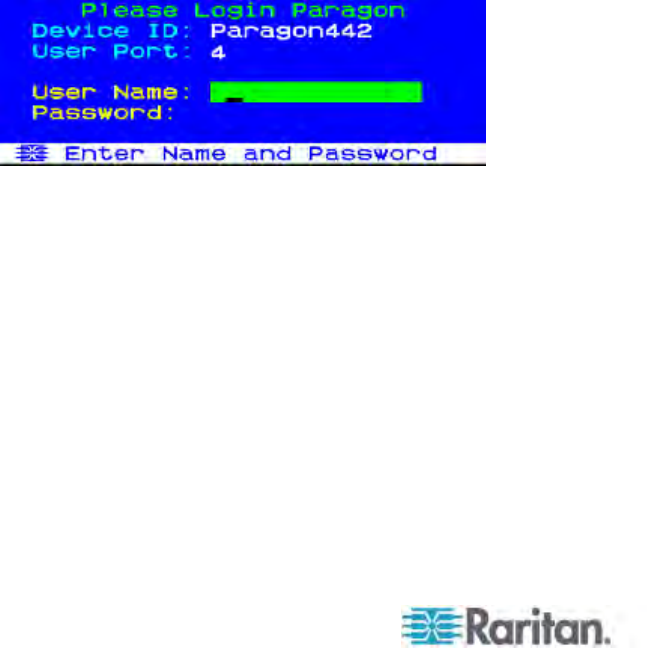
3. Perform initial configuration of the user station.
a. The Login screen should appear on the user station’s attached
monitor. If the Scroll Lock LED on the user station’s attached
keyboard is blinking, the Paragon is ready to accept function key
commands, which allow users to login, select servers, or
administer the system.
If the monitor instead displays a “.....No connection to
Paragon.....” message, the user station is not properly connected
to the Paragon switch. Check for loose connections and make
sure you are using good, intact Cat5 cables.
b. Type admin in the User Name field and press Enter. In the
Password field, type the default password raritan (all
lowercase) and press Enter.


