Original Orientation
29
3
Original Orientation
To correctly display the top/bottom
orientation of a scanned original on a
client computer, original orientation
must be set when placing the original.
When using the e-mail function or the
network delivery scanner function,
settings are made on the control panel
of the machine. When using the ma-
chine as a network TWAIN scanner,
settings are made with the TWAIN
driver.
Note
❒ When an original is smaller than
the specified size, a blank space ap-
pears in the resulting image.
For E-mail and a Network
Delivery Scanner
A
AA
A
To make settings for original ori-
entation, press [Options].
Note
❒ The default can be changed us-
ing [Orig. Orientation Priority] in
the initial scan settings. See p.12
“Orig. Orientation Priority”.
B
BB
B
Select [Original Orientation] using
{
{{
{U
UU
U}
}}
} or {
{{
{T
TT
T}
}}
}, and then press the
{
{{
{OK}
}}
} key.
C
CC
C
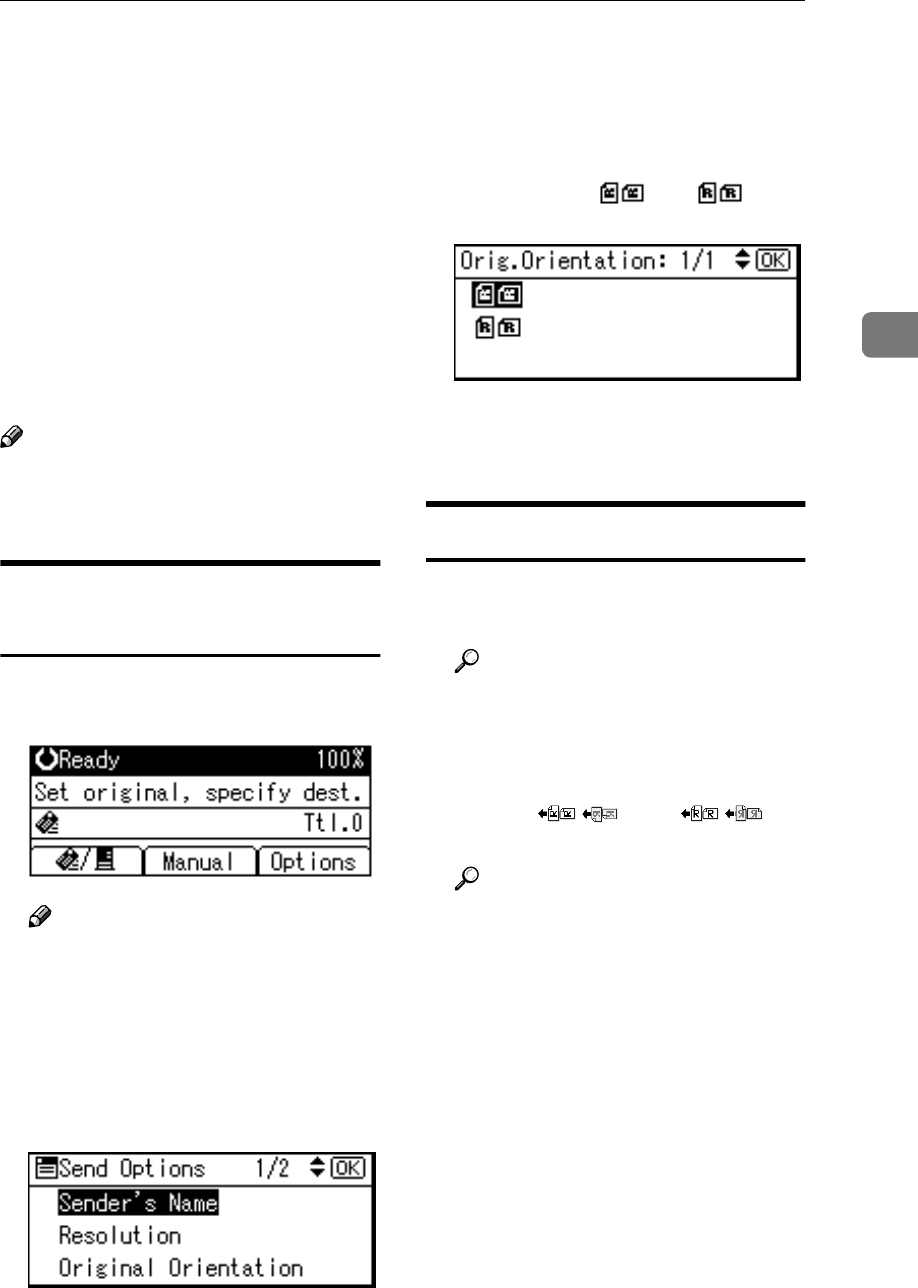
Select the icon for the same orien-
tation as the actual orientation of
the original, [] or [], and
then press the {
{{
{OK}
}}
} key.
The “
Accepted
” message appears,
and then the Send Option screen
returns.
For a Network TWAIN Scanner
A
AA
A
Open the scanner properties dia-
log box.
Reference
p.62 “Scanning Originals”
B
BB
B
Select the position from the [Docu-
ment] list in the [Document] area.
C
CC
C
Select [ / ] or [ / ] in
the [Orientation:] list.
Reference
p.25 “Specifying original orien-
tation and setting originals”
