Section 8 OPTIONAL EQUIPMENT
8-5
3
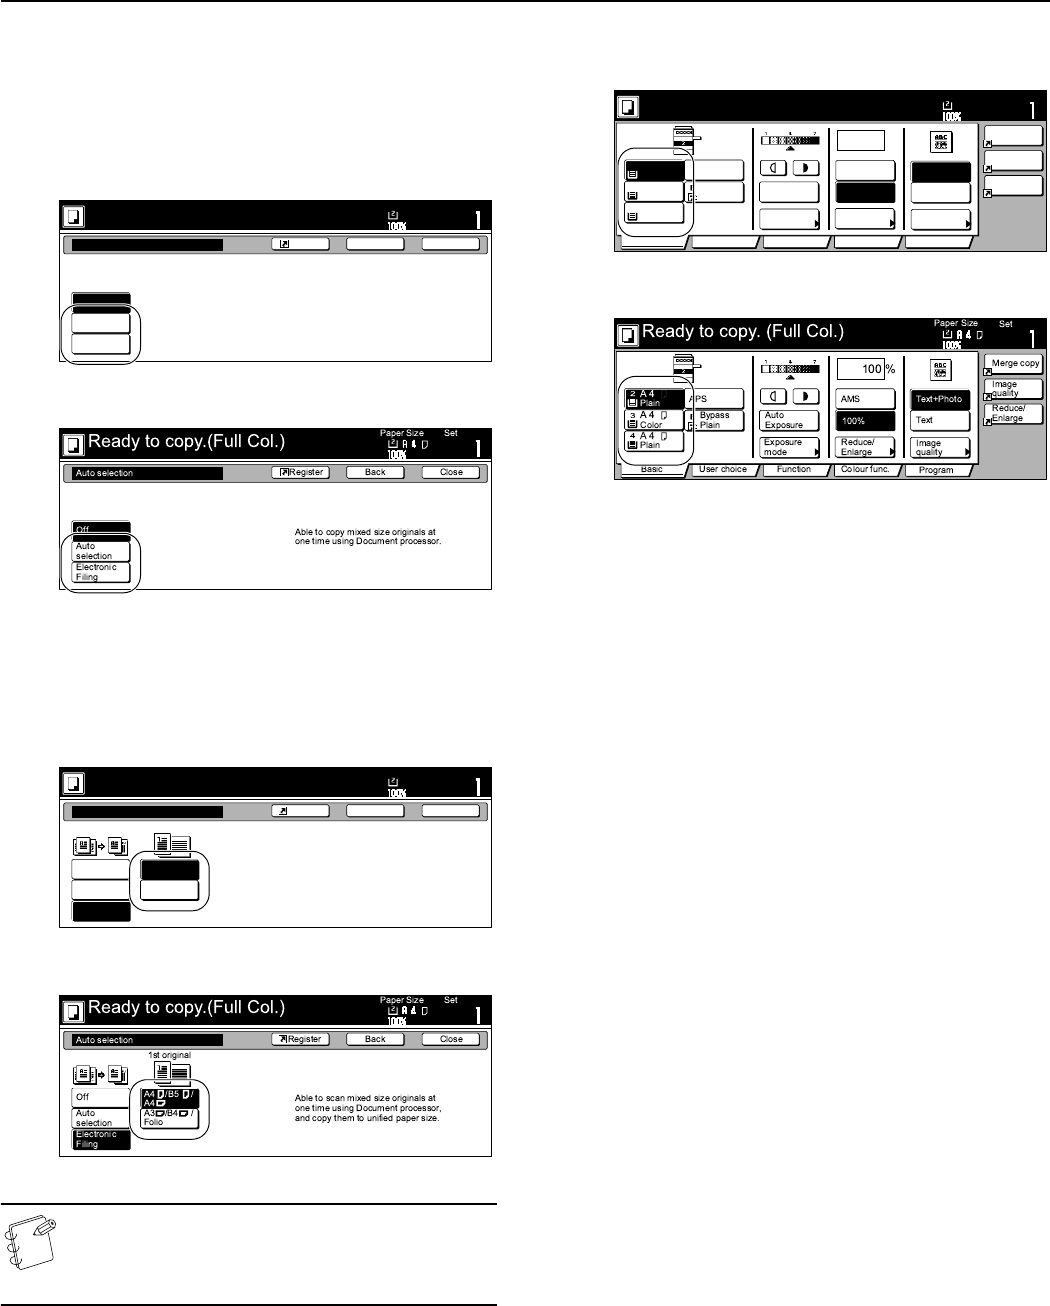
Press the “Auto selection” key or the “Unify Size Filing”
key, as appropriate.
If you selected “Auto selection”, go directly to step 6.
If you selected “Unify Size Filing”, go to the next step.
Inch specifications
Metric specifications
4
Specify the size of the very first original to be copied and
then press the “Close” key.
The touch panel will return to the contents of the “Basic”
tab.
Inch specifications
Metric specifications
NOTE
In order to have the binding direction set properly for
stapling or hole punching, etc., finished copies, be sure to
specify the size of the very first original being copied.
5
Select the desired drawer[cassette].
Inch specifications
Metric specifications
6
Press the [Start] key.
Copying will start.
Ready to copy.(Full-color)
Paper Size
Set
BackShortcut Close
Auto Selection
Off
Auto
selection
Unify Size
Filing
Scan mixed sized originals
using the Document Processor.
Copy size is same as original.
11x8
1
/2
Ready to copy.(Full-color)
Paper Size
Set
BackShortcut Close
Auto Selection
Off
Auto
selection
Unify Size
Filing
Able to scan mix size originals at
one time using Document processor,
and copy them in unified paper size.
1st pg. Orig
11x8
1
/2
11x8
1
/2
8
1
/2x11/
11x17
8
1
/2x14/
Set
2
3
4
%
100
Orig.image
quality
Text
Text+Photo
Ready to copy. (Full-Color)
Paper Size
Basic User choice Function Color func.
Plain
APS
MP tray
Plain
Color
Combine
Orig.image
quality
Reduce
/Enlarge
Auto
Exposure
Exposure
mode
Auto %
100%
Reduce
/Enlarge
Plain
Program
11x8
1
/
2
"
11x8
1
/
2
"
11x8
1
/
2
"
11x8
1
/
2
"


