Section 4 BASIC OPERATION
4-2
4
Selecting functions
Inch specifications
Metric specifications
Select from the copier’s various functions.
• Enlarging/reducing the copy image (Page 6-1)
• Interrupt copying (Page 6-5)
• Adjusting the color balance (Page 5-1)
• Adjusting the color hue (Page 5-3)
• One-touch image quality adjustment (Page 5-5)
• Mono-color mode (Page 5-6)
• Gloss mode ON/OFF (Page 5-7)
• Making 2-sided copies from various types of originals (Page 6-6)
• Copying two-page originals onto separate sheets (Page 6-9)
• Making a margin space on the copies (Page 6-12)
• Centering the copy image (Page 6-15)
• Adding a space next to the copy images for making notes
(Page 6-17)
• Making copies with clean edges (Page 6-19)
• Fitting the image of either two or four originals onto a single
copy page (Page 6-21)
• Printing page numbers on the copies (Page 6-23)
• Enlarging the image and printing it out onto multiple sheets
(Page 6-27)
• Making booklets from sheet originals (Page 6-29)
• Making booklets from book originals (Page 6-32)
• Automatic sorting of copy sets without the Document Finisher
(Page 6-35)
• Automatic rotation of the copy image (Page 6-37)
• Adding a front and/or back cover to your copy sets (Page 6-38)
• Feeding paper as a backing sheet for OHP transparencies
(Page 6-43)
• Inverting black and white AND colors (Page 6-45)
• Making mirror image copies (Page 6-46)
• Making a test copy prior to large volume copying (Page 6-47)
• Making more of the same copies after a copy job is finished
(Page 6-49)
• Copying a large volume of originals in one operation (Page 6-53)
• Making both color AND black & white copies at the same time
(Page 6-54)
• Adjusting the sharpness (Page 6-56)
• Selecting the location for paper ejection (Page 6-59)
• Easily add covers and insert sheets between various sets of
originals in one operation (Page 6-68)
5
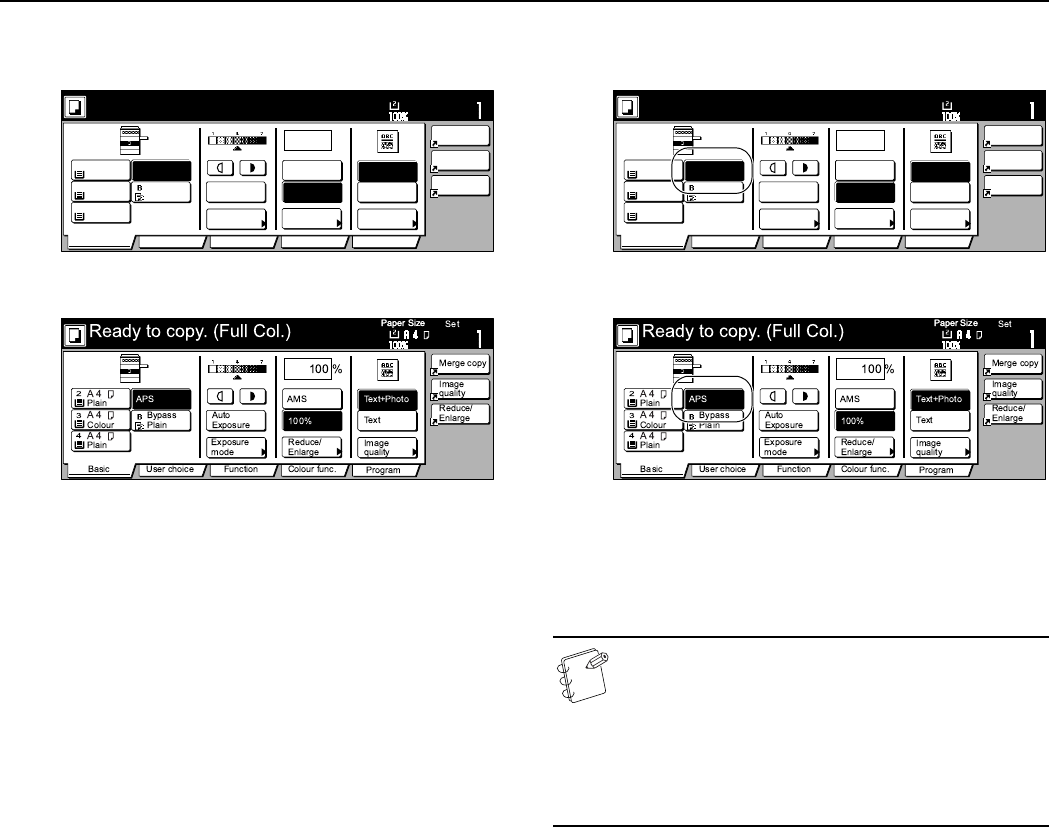
Selecting the paper size
Inch specifications
Metric specifications
When the “APS” key is highlighted on the touch panel, copy paper
of the same size as the original will be automatically selected. In
order to copy the original image onto a different size of paper
without changing the size of the image, press the paper size key
that corresponds to the paper size that you want to use.
NOTES
• It is possible for you to specify a paper size that will be
selected automatically even without setting any
originals. (See “Paper selection” on page 7-74.)
• It is also possible for you to specify one drawer[cassette]
that will be selected automatically even without setting
any originals. (See “Default drawer[cassette]” on
page 7-77.)
Set
2
3
4
%
100
Ready to copy. (Full-Color)
Paper Size
Basic User choice Function Color func.
Plain
APS
MP tray
Plain
Color
Combine
Orig.image
quality
Reduce
/Enlarge
Auto
Exposure
Exposure
mode
Auto %
100%
Reduce
/Enlarge
Plain
Program
11x8
1
/
2
"
11x8
1
/
2
"
11x8
1
/
2
"
11x8
1
/
2
"
Orig.image
quality
Text
Text+Photo


