4-1
Section 4 BASIC OPERATION
1
Warm-up
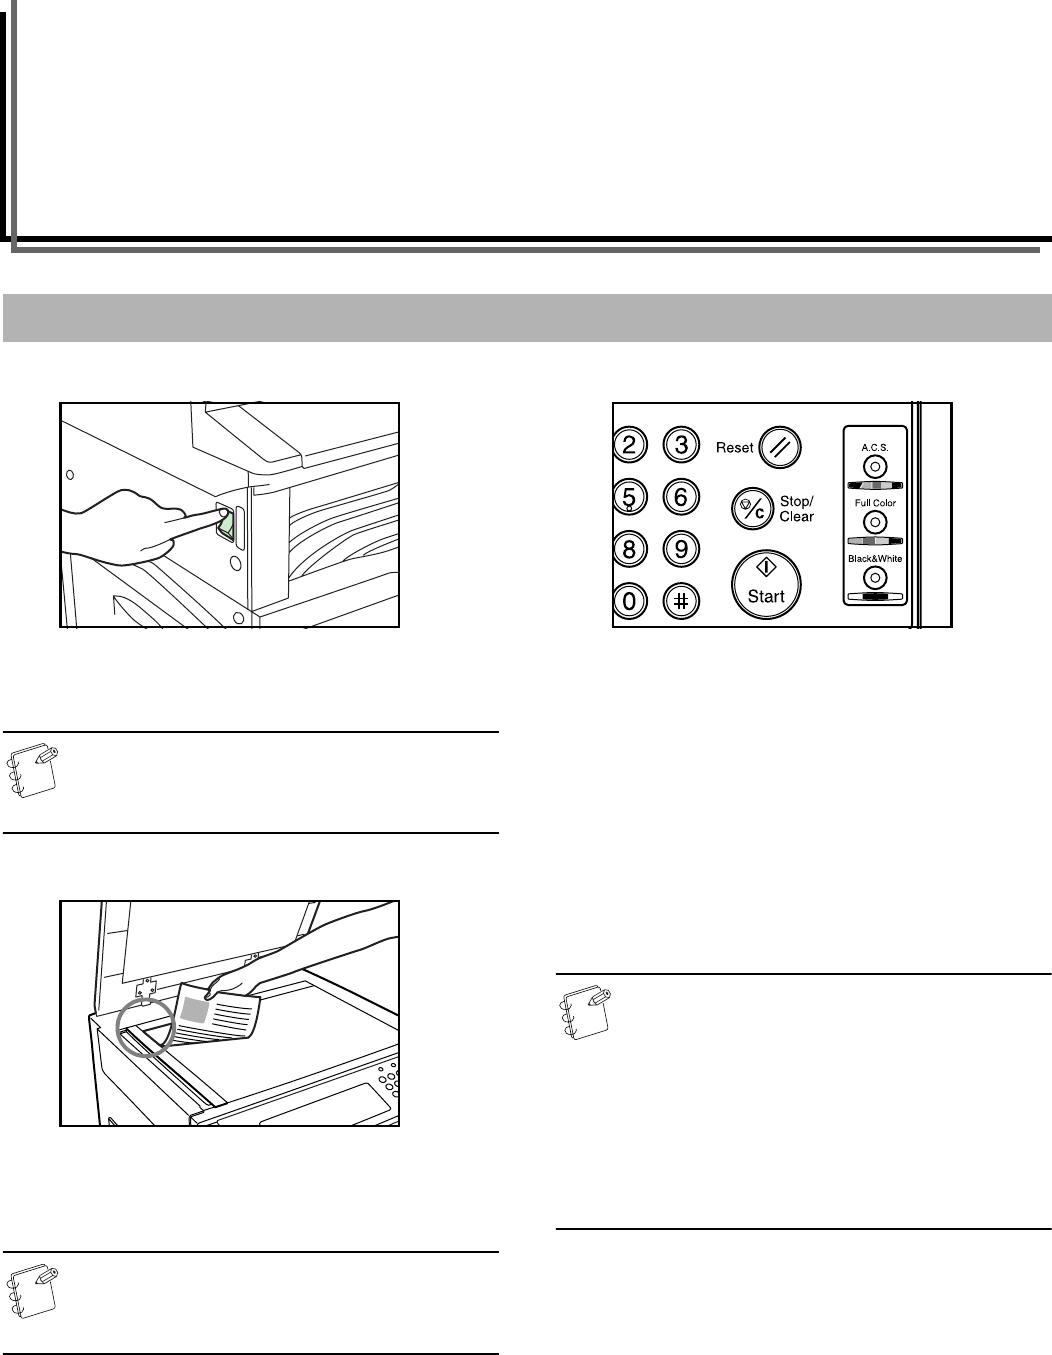
Turn the power switch ON ( | ). At the end of warm-up, “Ready to
copy.” will be displayed in the message area of the touch panel.
NOTE
If you set the original that you want to copy and press the
[Start] key while the copier is still warming up, copying
will begin as soon as warm-up is completed.
2
Setting an original
Open the original cover and set the original that you want to copy
face-down on the platen. Be sure to align originals with the upper
left corner of the platen (towards the left-rear portion of the copier).
NOTE
See “Setting originals in the Document Processor”
on page 8-2 for instructions on how to set originals in your
Document Processor (option).
3
Selecting the color mode
Press the [Full Color] key, the [A.C.S.] key or the [Black & White]
key, as desired, to light the lamp in that key.
Full color copy mode: Press the [Full Color] key to light the lamp
in that key. Select this mode when you want to make full color
copies.
Auto Color Selection mode: Press the [A.C.S.] key to light the
lamp in that key. The copier will automatically detect the
difference between color and monochrome (B/W) originals, and will
select the full color copy mode for color originals and the black and
white copy mode for monochrome (B/W) originals.
Black and white copy mode: Press the [Black & White] key to
light the lamp in that key. Select this mode when you want to make
black and white copies.
NOTES
• If the mono-color mode is selected, the currently
selected color for that mode will be displayed: “CYAN”,
“MAGENTA”, “YELLOW”, “RED”, “GREEN” or
“BLUE”. (See “Mono-color mode” on page 5-6.)
• It is also possible for you to make other adjustments to
color copying.
Adjusting the color balance (Page 5-1.)
Adjusting the color hue (Page 5-3.)
One-touch image quality adjustment (Page 5-5.)
Gloss mode ON/OFF (Page 5-7.)
Basic copying procedure
