3 – Initial Installation
Installing SANsurfer FC HBA CLI
3-8 SN0054614-00 F
S
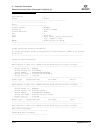
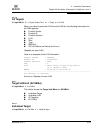
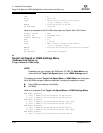
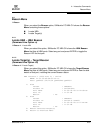
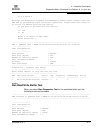
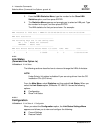
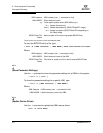
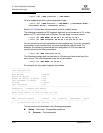
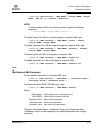
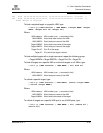
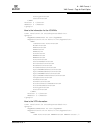
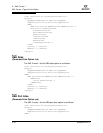
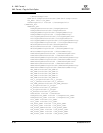
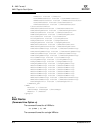
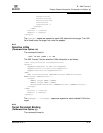
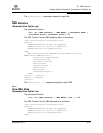
To query for the installed SANsurfer FC HBA CLI package name, enter the
following text from the command line:
rpm -q scli
3.2.3
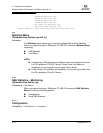
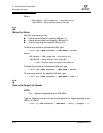
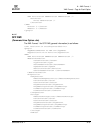
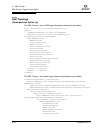
Solaris Installation
To install SANsurfer FC HBA CLI on Solaris, follow the steps in one of these
sections:
Solaris SPARC 8, 9, 10—See section 3.2.3.1.
Solaris x86 9 and 10—See section 3.2.3.2.
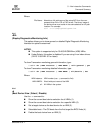
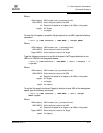
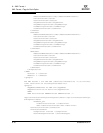
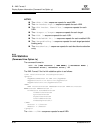
3.2.3.1
Solaris SPARC 8, 9, 10 Installation
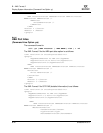
Follow these steps to install SANsurfer FC HBA CLI on a Solaris SPARC 8, 9, or
10 operating system:
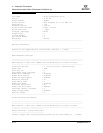
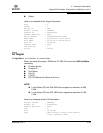
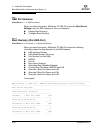
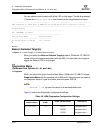
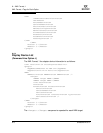
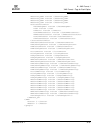
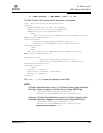
1. Download the scli-x.xx.xx-xx.sparc.Solaris.pkg file (from the
QLogic Web site or the FC HBA Manager CD-ROM) to a temporary directory
on your machine. For example:
/tmp
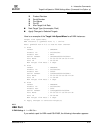
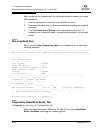
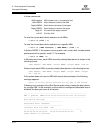
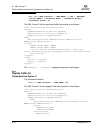
2. To see the available package file, type the following:
# ls
The available packages appear. For example:
# scli-x.xx.xx-xx.sparc.Solaris.pkg
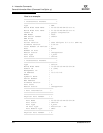
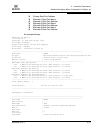
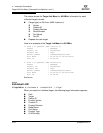
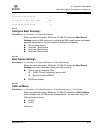
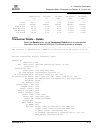
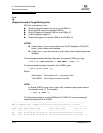
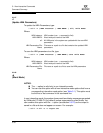
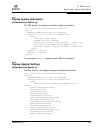
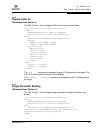
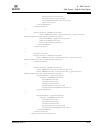
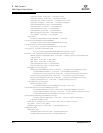
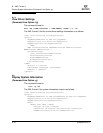
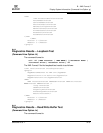
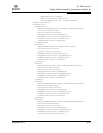
3. To install SANsurfer FC HBA CLI, type the following:
# pkgadd -d scli-x.xx.xx-xx.sparc.Solaris.pkg
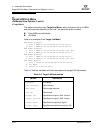
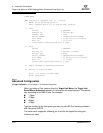
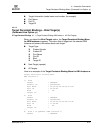
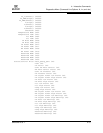
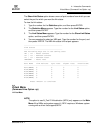
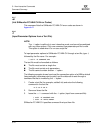
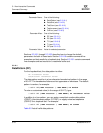
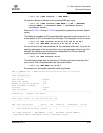
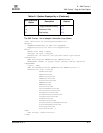
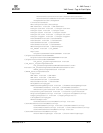
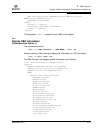
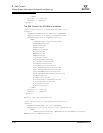
4. You are prompted to select a package. For example:
The following packages are available:
1 QLScli QLogic SANsurfer FC HBA CLI (HBA Configuration Utility)
(sparc) x.xx.xx Build xx
Select package(s) you wish to process (or 'all' to process all
packages). (default: all) [?,??,q]:
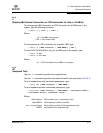
Enter 1 to proceed with the installation.
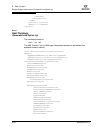
NOTE:
In the file name, x.xx.xx-xx stands for the current version of SANsurfer
FC HBA CLI. The -xx stands for the build version.