


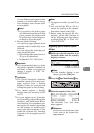


KEY OPERATOR SETTINGS
167
7
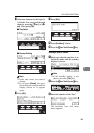
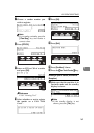
A Make sure that the machine is in
Facsimile mode and the standby
display is shown.
Note
❒ If the standby display is not
shown, press the {
Fax
} key.
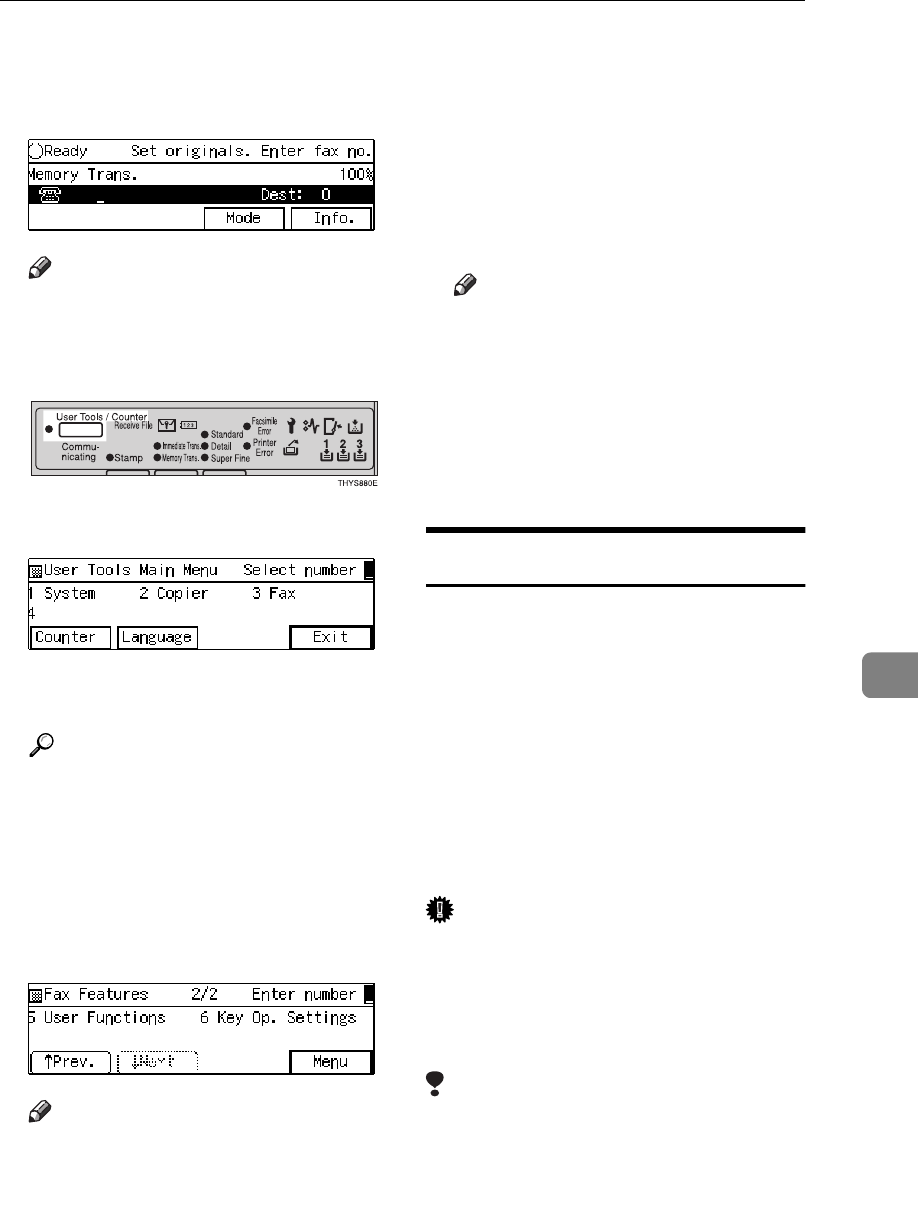
B Press the {
{{
{
User Tools/Counter
}
}}
} key.
C Enter the number of the “Fax”.
The Facsimile User Tool main
menu appears.
Reference
For how to use the System User
Tools, refer to the System Set-
tings manual.
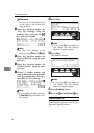
D Enter the function number for
“Key Op. Settings” using the
number keys and press the {
{{
{
#
}
}}
}
(Enter) key within 3 seconds.
Note
❒ If “Key Op. Settings” is not
shown, press
[
↑
↑↑
↑
Prev.
]
or
[
↓
↓↓
↓
Next
]
.
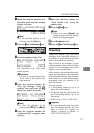
E Enter the function number for
“Special RX Nos.”. using the
number keys.
F Enter the function number for
“Print Sender List” using the
number keys.
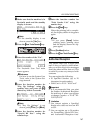
G Press the {
{{
{
Start
}
}}
} key.
When the printing job is complet-
ed, the display shown in 6 appears
again.
Note
❒ If you press
[
Cancel
]
before
printing starts, printing stops
and the display shown in 6 ap-
pears again.
H Press
[
PrevMenu
]
twice.
I Press the {
{{
{
User Tools/Counter
}
}}
} key.
Authorized Reception
This feature helps you to reject junk
mail. It lets you specify which termi-
nals you wish to receive fax messages
from; the others will be shut out. This
is useful if you are very annoyed with
someone.
You can register the following:
• 30 Specified Senders (up to 20
characters for each sender)
• Wild Card ⇒ P.191 “Wild Cards”
Important
❒ It is recommended that you print
the Sender/Authorized Reception
list and keep it when you register
or change a sender. ⇒ P.143 “RE-
PORTS/LISTS”
Limitation
❒ You cannot register a Specified
Sender who does not have an RTI
or CSI.
❒ You can register up to 30 senders
for Forwarding, Special RX Nos.,
and Authorized Reception func-