Corrective Maintenance
6–6
1780R-Series Service Manual
Mechanical Disassembly/Assembly
Use these instructions for disassembly and then reverse them for reassembly,
unless noted otherwise. The Inner Bezel Frame Removal and Graticule Light
Removal procedures can be performed with the instrument installed in the rack
mounting cabinet or portable case.
Before attempting any disassembly/assembly of the instrument, be sure to
disconnect the power cord.
NOTE. All screws, unless otherwise noted, are TORXR screws and can be
removed with a T15 screwdriver tip (Tektronix Part No. 003-0966-00). The
exception is #2 PozidriveR screws which can be removed with a #1 PozidriveR
tip (003-0443-00).
Use the following procedure to remove the Inner Bezel Frame.
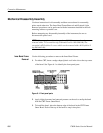
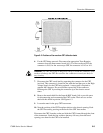
1. For either CRT, insert a wedge-shaped plastic tool in the slot at the top center
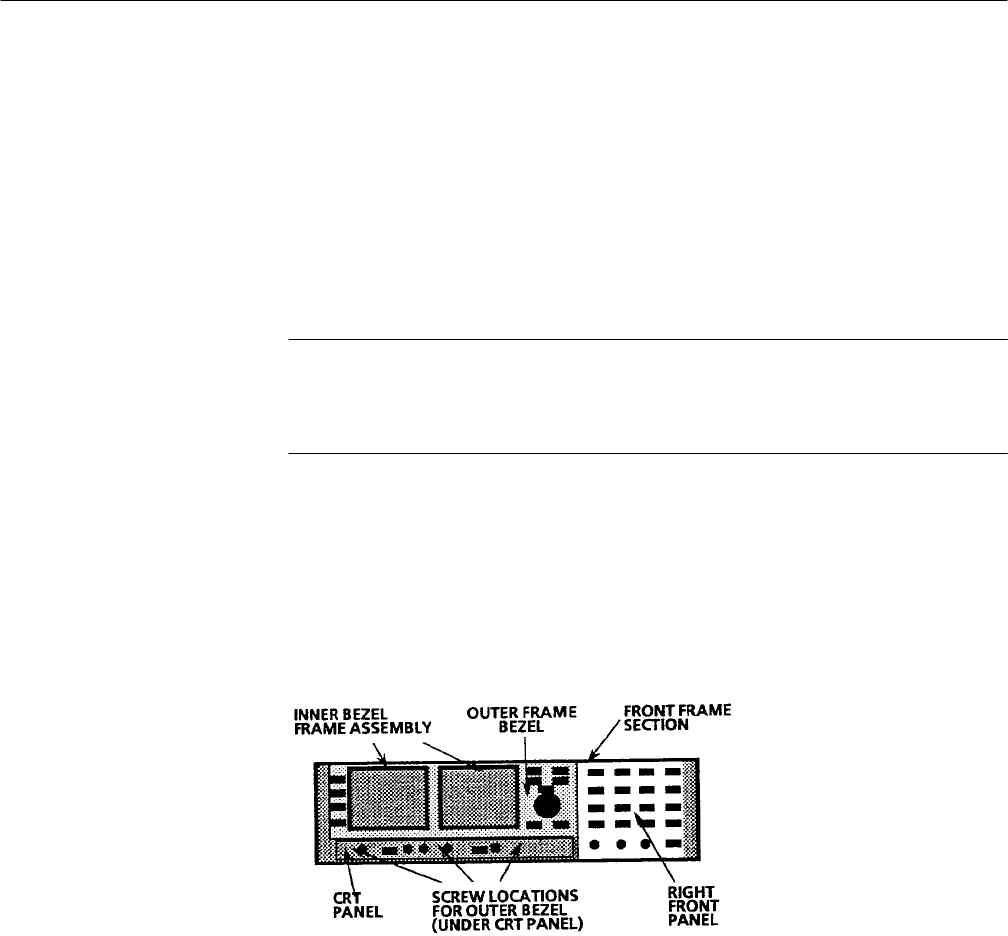
of the bezel. See Figure 6–1 to identify the front-panel parts.
Figure 6–1: Front panel parts
2. Apply slight downward and outward pressure on the tool to unclip the bezel
from the CRT Frame Outer Bezel.
3. To install the bezel, place the bottom edge of the bezel in the CRT Frame
Outer Bezel. Push on the top of the bezel to snap it into place.
Inner Bezel Frame
Removal


