Corrective Maintenance
1780R-Series Service Manual
6–9
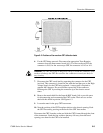
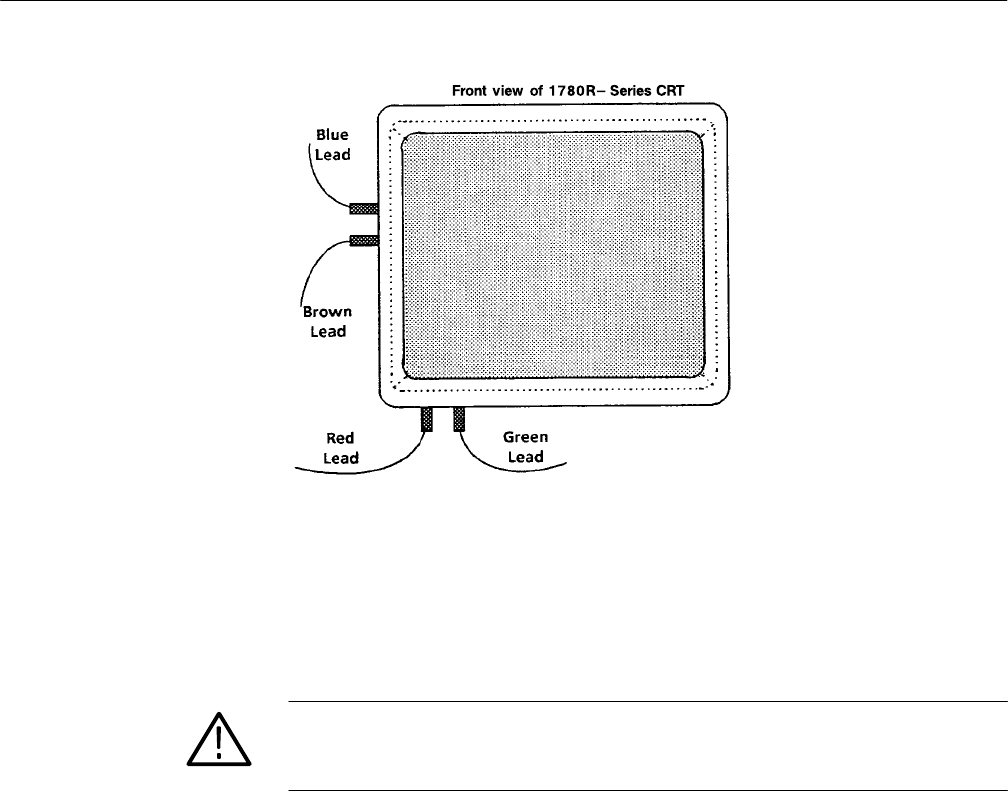
Figure 6–2: Positions of the waveform CRT deflection leads
6. For the CRT being removed: Disconnect the appropriate Trace Rotation
connector from the Interconnect board (A11). For the waveform CRT, the
connector is J165; for the vectorscope CRT, the connector is J143 on A11.
WARNING. The CRT may retain a dangerous charge. Ground the conductor of the
anode to discharge the CRT. Do not allow the conductor to touch your body or
any circuitry.
7. Disconnect the CRT anode lead by separating the connector for the CRT
involved. This connector is located in line with the lead that goes to the High
Voltage Supply for the CRT being replaced. A strong pull is required to
separate the connector. Do not touch the exposed tip of the connector.
Discharge the CRT by touching the connector tip to the chassis several
times.
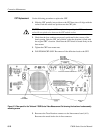
8. Remove the metal shield for the Input & BNC board (A8) to provide space
for disconnecting and reconnecting the CRT socket. There are two screws
that hold this shield in position. See Figure 6–3.
9. Loosen the nuts for the grey CRT base mount.
10. Note the position of the CRT faceplate relative to the chassis opening. Push
the CRT forward by pressing on the back of the CRT base mount.
Disconnect the CRT from the socket and slide the CRT forward through the front
of the instrument. Catch the four cushions that may fall away from the bezel
opening; save them for the CRT to be installed.


