326 Configuring Switching Information
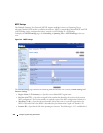
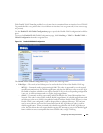
Assigning VLAN Membership to a Port or LAG
1.
Open the
VLAN Membership
page.
2.
Select a VLAN from the
VLAN ID
or
VLAN Name
drop-down menu.
3.
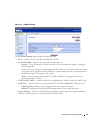
In the
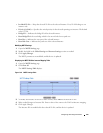
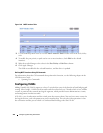
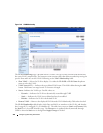
VLAN Port Membership Table
, assign a value by clicking in the
Static
row for a specific
Port/LAG. Each click toggles between U, T, and blank (not a member).
4.
Click
Apply Changes
.
The Port or LAG is assigned to the VLAN with the selected designation, the
Current
row is updated
with the designation, and the device is updated.
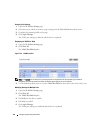
Modifying VLAN Membership Groups
1.
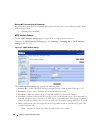
Open the
VLAN Membership
page.
2.
Select a VLAN from the
VLANID
or
VLAN Name
drop-down menu.
3.
Modify the fields as needed.
4.
In the
VLAN Port Membership Table
, change a Port or LAG value by clicking in the
Static
row for
that Port/LAG. Each click toggles between U, T, and blank (not a member).
5.
Click
Apply Changes
.
The VLAN membership information is modified, the
Current
row is updated with any changes in
designation, and the device is updated.
Removing a VLAN
1.
Open the
VLAN Membership
page.
2.
Select a VLAN from the
VLAN ID
or
VLAN Name
drop-down menu.
3.
Check the
Remove VLAN
check box.
4.
Click
Apply Changes
.
The selected VLAN is removed, and the device is updated.
Defining VLAN Membership Groups and Assigning Ports/LAGs Using CLI Commands
For information about the CLI commands that perform this function, see the following chapter in the
CLI Reference Guide
:
• VLAN Commands
Double VLAN
The Double VLAN feature allows the use of a second tag on network traffic. The additional tag helps
differentiate between customers in the Metropolitan Area Networks (MAN) while preserving individual
customer’s VLAN identification when they enter their own 802.1Q domain.
With the introduction of this second tag, you do not need to divide the 4k VLAN ID space to send traffic
on an Ethernet-based MAN.


