


# mv -i
source_file_name
target_file_name
<RETURN>
5. Configure symbolic links for the shared disk (Primary node)
Configure symbolic links from the files and directory on the local disk of the primary node for the files on the shared disk.
Execute the following command:
# ln -s
shared_disk
local_disk
<RETURN>
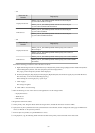
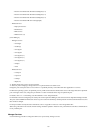
Table 5.1 Files to Link
Shared Disk Local Disk
Mount_destination_of_shared_disk
/Fujitsu/ROR/SVROR/etc/dhcpd.conf (*1) /etc/dhcpd.conf
Mount_destination_of_shared_disk
/Fujitsu/ROR/SVROR/etc/dhcp/dhcpd.conf (*2) /etc/dhcp/dhcpd.conf
Mount_destination_of_shared_disk
/Fujitsu/ROR/SVROR/var/lib/dhcpd /var/lib/dhcpd
*1: When using Red Hat Enterprise Linux 5
*2: When using Red Hat Enterprise Linux 6
6. Change the settings of the DHCP service (Primary node)
Change the following files when registering the admin LAN subnet, and set the takeover logical IP address after the change to the
DHCP server.
File name
- Red Hat Enterprise Linux 5
/etc/dhcpd.conf
- Red Hat Enterprise Linux 6
/etc/dhcp/dhcpd.conf
Add the following lines, and set the takeover logical IP address.
option dhcp-server-identifier
takeover logical IP address
;
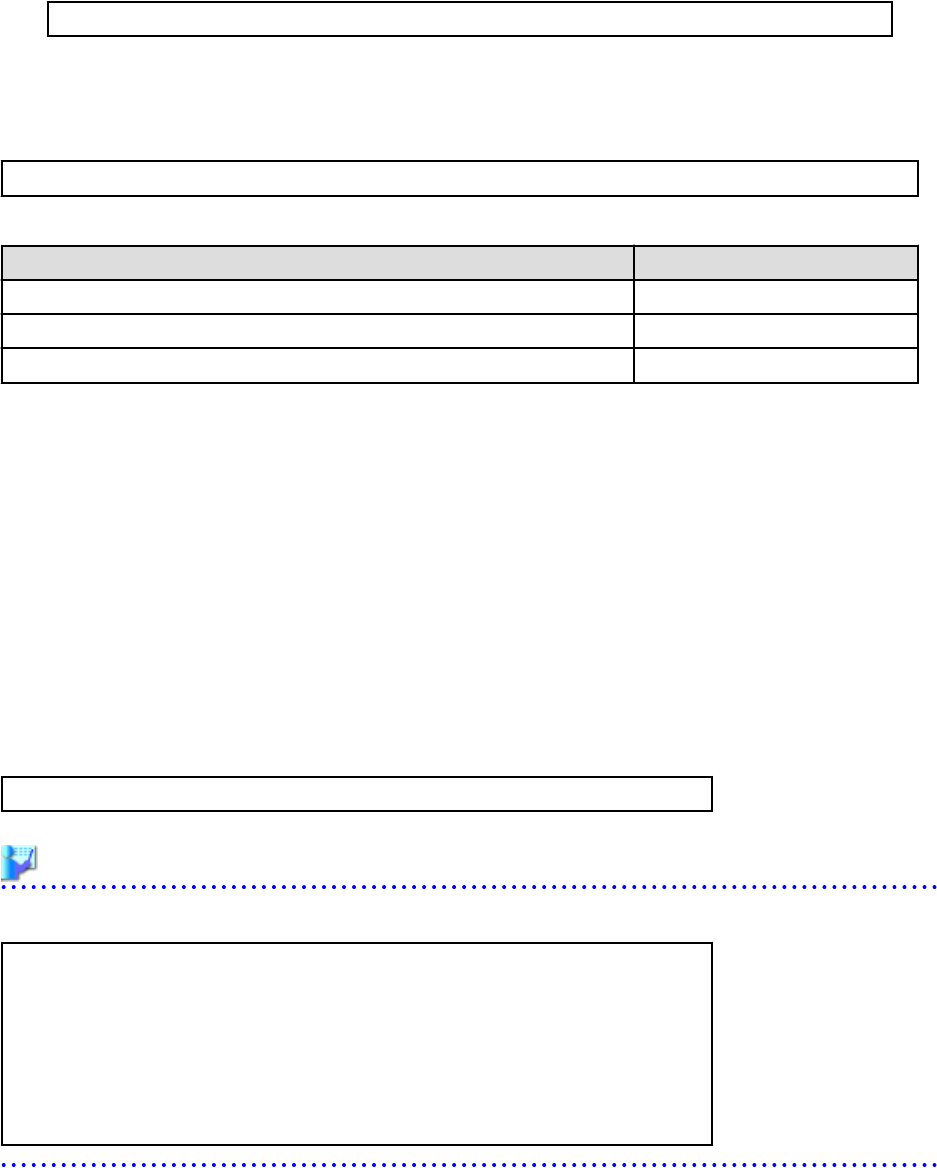
Example
When the takeover logical IP address is 192.168.4.100
#
# DHCP Server Configuration file.
# see /usr/share/doc/dhcp*/dhcpd.conf.sample
#
ddns-update-style none;
option vendor-class-identifier "PXEClient";
option dhcp-server-identifier 192.168.4.100; # This line is added.
subnet 192.168.4.0 netmask 255.255.255.0 {
7. Unmount the shared disk. (Primary node)
Unmount the shared disk for managers from the primary node.
8. Mount the shared disk (Secondary node)
Mount the shared disk for managers on the secondary node.
9. Back up files and configure symbolic links for the shared disk (Secondary node)
a. Perform step b. of step 4 and back up the files on the local disk.
- 56 -