Configuring the Network
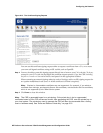
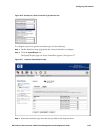
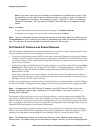
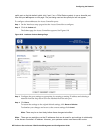
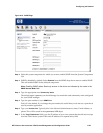
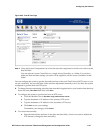
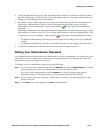
Figure 6-19. SNMP Page
Step 2.
Select the system component for which you want to enable SNMP from the System Components
List.
Step 3. SNMP is disabled by default. Select Enabled from the SNMP drop-down menu to enable SNMP.
This will enable SNMP for the selected component.
Note: Enabling SNMP allows Read-only access to the device as indicated by the value in the
SNMP Access Mode field.
Step 4. Type the appropriate read Community Name.
The default name is
public; you should change it to match the read community name configured
for your SNMP manager.
Step 5. Type the port number of your SNMP Port.
Port 161 is the default. If you change the port number, be careful that you do not use a port that is
used by another application.
Step 6. Type your Contact Info. Typically, this is the Network Administrator’s name, E-mail address, or
phone. This will be saved in the
sysContact MIB object.
Step 7. In the Trap IP Addresses fields, type the IP address of up to two systems that should receive traps
from the 700wl Series system. Enter each IP address in a separate entry field.
HP ProCurve Secure Access 700wl Series Management and Configuration Guide 6-39


