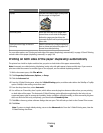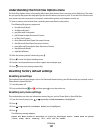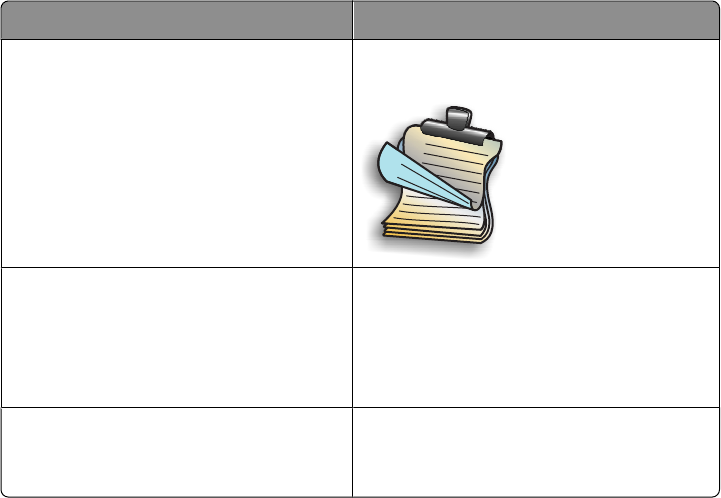
Select To
Topflip Print the two-sided pages so they read
like the pages of a legal pad.
1
2
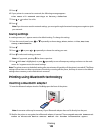
Extend dry time Allow the ink to dry for a longer than
normal time on one side of the paper
before the page goes back into the
automatic duplex unit for printing on the
other side.
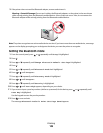
Print Instruction Page to Assist in
Reloading
Obtain a printed set of steps explaining
how to rotate and reload the paper for
manual two-sided printing.
For more information, see “Printing on both sides of the paper (duplexing) automatically” on page 103 and “Printing
on both sides of the paper (duplexing) manually” on page 104.
Printing on both sides of the paper (duplexing) automatically
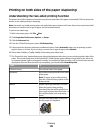
The printer has a built-in duplex unit that lets you print on both sides of the paper automatically.
Note: Automatic two-sided printing (duplexing) works only with plain paper in letter and A4 sizes. If you want to
print two-sided documents on another type or size of paper, use the manual duplexing method.
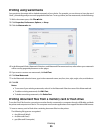
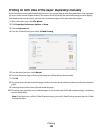
1 With a document open, click File Print.
2 Click Properties, Preferences, Options, or Setup.
3 Click the Advanced tab
4 From the 2-Sided Printing area, select the 2-Sided Printing option, and then select either the Sideflip or Topflip
option. Sideflip is the setting most often used.
5 From the drop-down box, select Automatic.
6 You will see an “Extend dry time” option, which allows extra drying time between sides when you are printing
on both sides of the paper. The Automatic 2-Sided Printing option affords enough time for the ink to dry on
supported paper types in average air humidity. Under conditions of high humidity, or if the normal drying time
does not allow the ink to dry completely, you should select Extend dry time.
7 Click OK to close any printer software dialogs that are open. This will take you back to the General Print screen.
8 Click Print.
Note: To return to single-sided printing, return to the Advanced tab. From the 2-Sided Printing area, clear the
2-Sided Printing check box.
Printing
103


