


9 Click Create PDF.
10 If you want to save the scanned image separately, make your selections and click Save. Otherwise, click Cancel
when the Photo Save options appear.
The software prepares your PDF and opens a Save dialog.
11 Enter a file name for your PDF and select a storage location.
12 Click Save.
Canceling a scan job
To cancel a job being scanned on the scanner glass, go to the control panel, and press .
To cancel a scan job started in the Productivity Studio, click Scan and then click Stop.
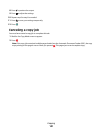
Customizing scan settings using the computer
1 From the desktop, double-click the Productivity Studio icon.
2 Click Scan.
3 Click Custom Settings.
4 Change the settings as needed.
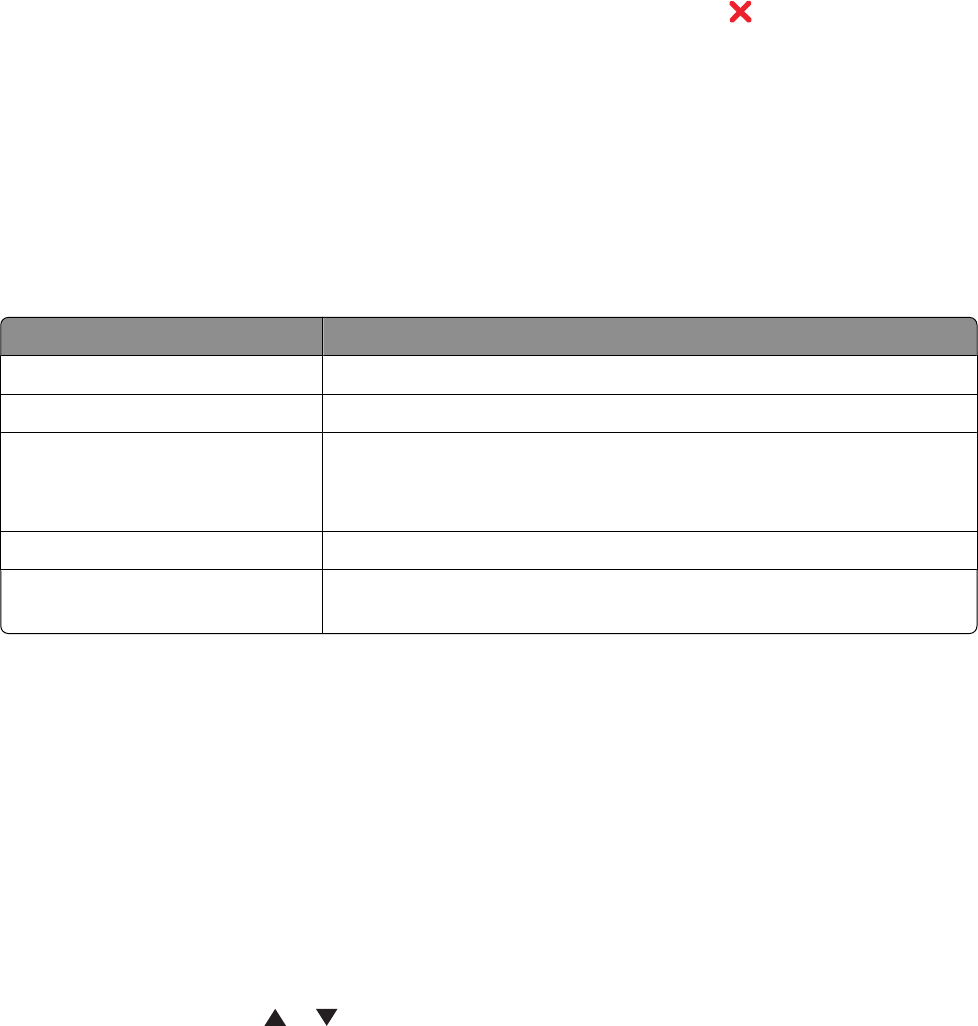
Setting Options
Color Depth Select Color, Gray, or Black and White.
Scan Resolution (Dots Per Inch) Select a scan resolution value from the drop-down list.
Size
• You can auto-crop the scanned item.
• You can select the area to be scanned. From the drop-down list, select
a paper source.
Convert the image to text with OCR Convert an image to text.
Always use these settings when
scanning
Make your selections permanent by selecting the check box.
Scanning to a computer over a network using the control
panel
1 Make sure:
• The printer is connected to a network through a print server or through a wireless network connection.
• The printer, the print server (if used), and the computer receiving the scan are all turned on.
• The printer is configured to scan over a network.
2 Load an original document faceup into the Automatic Document Feeder (ADF) or facedown on the scanner glass.
Note: Do not load postcards, photos, small items, transparencies, photo paper, or thin media (such as magazine
clippings) into the Automatic Document Feeder (ADF). Place these items on the scanner glass.
3 From the control panel, press or repeatedly until Scan is highlighted.
Scanning
147