


7 Press .
8 Follow the instructions on the control panel display of the printer.
Warning—Potential Damage: Do not touch the paper while the printer is actively printing.
Copying photos
1 Load photo paper with the glossy or printable side facing down. (If you are not sure which side is the printable
side, see the instructions that came with the paper.)
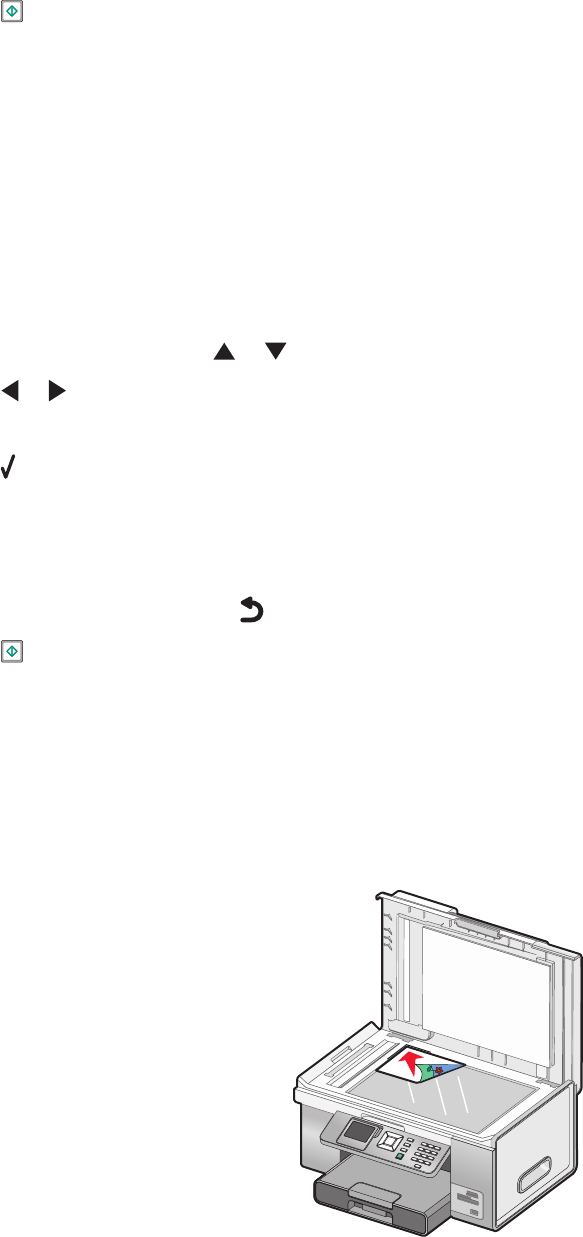
2 Place a photo facedown on the scanner glass in the upper left corner.
Note: Do not load photos in the Automatic Document Feeder (ADF).
3 From the control panel, press or repeatedly until Copy is highlighted.
4 Press or to select the number of copies.
The number of copies is automatically set to 1.
5 Press .
The Copy Mode menu appears.
6 Adjust the copy settings as needed using the control panel buttons. To make a borderless copy, choose the
Borderless option under Resize. For more information, see “Understanding the Copy Mode menu” on page 133.
7 After making your choices, press to save your settings temporarily.
8 Press .
Note: To prevent smudging or scratching, avoid touching the printed surface with your fingers or sharp objects.
For best results, remove each printed sheet individually from the paper exit tray, and allow the prints to dry at
least 24 hours before stacking, displaying, or storing.
Copying a photo using the computer
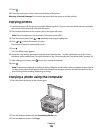
1 Place the photo facedown on the scanner glass.
2 From the desktop, double-click the Productivity Studio icon.
3 From the Welcome screen, click Copy.
Copying
136