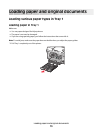
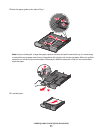
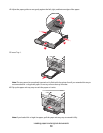
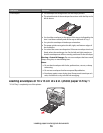
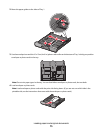
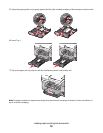
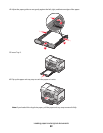
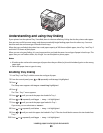
3 The paper guides rest against the left, right, and bottom sides of the cards.
Note: Photo cards require more drying time. Remove each photo as it exits, and allow it to dry to avoid ink smudging.
Loading transparencies in Tray 1
You can load up to 50 transparencies at a time.
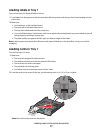
1 Load transparencies with the rough side facing down.
2 If the transparencies have a removable strip, each strip should face down.
3 Make sure:
• You load letter- or A4-size transparencies.
• You remove any paper backing sheets from the transparencies before loading.
• The paper guides rest against the left, right, and bottom edges of the transparencies.
Notes:
• Transparencies with paper backing sheets are not recommended.
• Transparencies require more drying time. Remove each transparency as it exits, and allow it to dry to avoid
ink smudging.
Loading iron-on transfers in Tray 1
You can load up to 10 iron-on transfers into the paper tray at once, but you will achieve best results loading them
one at a time.
1 Load iron-on transfers with the print side of the transfer facing down.
2 Make sure:
• You follow the loading instructions that came with the iron-on transfers.
• The paper guides rest against the left, right, and bottom edges of the transfers.
Loading custom-size paper in Tray 1
You can load up to 25 sheets of custom-size paper at a time.
1 Load paper into the paper tray with the printable side facing down.
2 Make sure:
• The paper size fits within these dimensions:
Width:
– 76.0–216.0 mm
– 3.0–8.5 inches
Length:
– 127.0–432.0 mm
– 5.0–17.0 inches
• The paper guides rest against the left, right, and bottom edges of the paper.
Loading paper and original documents
78


