13 Load photo paper in Tray 1 or in the small media feeder.
Note: Load the photo paper with the glossy or printable side facing down. (If you are not sure which side is the
printable side, see the instructions that came with the paper.)
14 Press to print your photos.
Note: To prevent smudging or scratching, avoid touching the printed surface with your fingers or sharp objects.
For best results, remove each printed sheet individually from the paper exit tray, and allow the prints to dry at
least 24 hours before stacking, displaying, or storing.
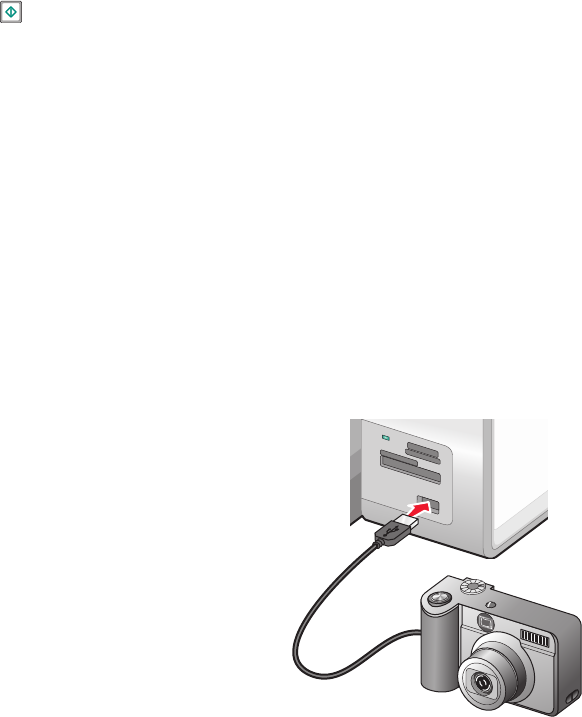
Printing photos from a PictBridge-enabled digital camera
PictBridge is a technology available in most digital cameras that lets you print directly from your digital camera
without using a computer. You can connect a PictBridge-enabled digital camera to the printer, and use the camera
to control printing photos.
1 Insert one end of the USB cable into the camera.
Note: Use only the USB cable that came with the camera.
2 Insert the other end of the cable into the PictBridge port on the front of the printer.
MS
XD
SD/MMC
CF/MD
PictBridge
Working with photos
128
