4 Press .
5 Press or repeatedly until the computer to which you want to scan is highlighted.
6 Press .
If you set a PIN during network setup and are being asked for it:
a Enter the PIN, select a digit location, and select a value for that digit.
b Press .
7 Wait until the printer has finished downloading the scan applications list.
8 Make your selections using the control panel buttons.
9 Press .
10 Follow the instructions on the screen of the computer receiving the scanned item.
Saving a scanned image on the computer
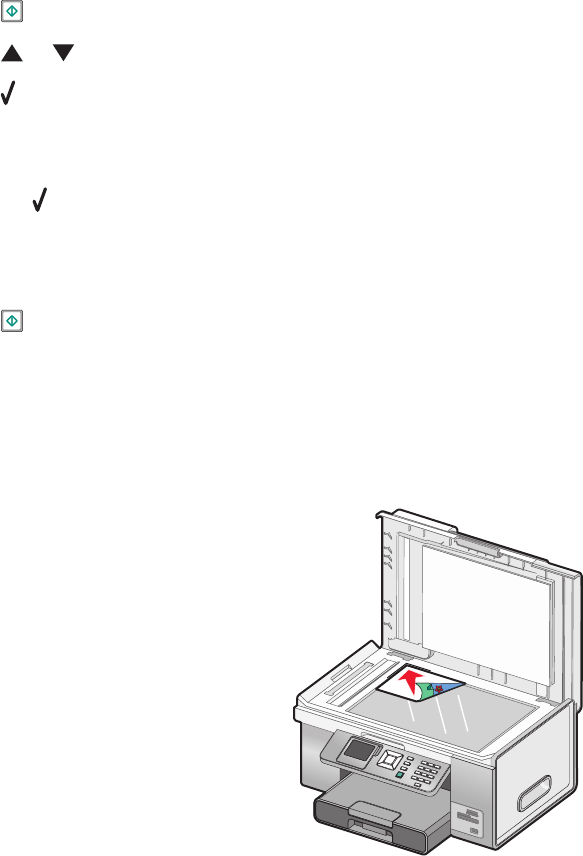
1 Load an original document facedown on the scanner glass.
2 Close the top cover.
3 From the desktop, double-click the Productivity Studio icon.
4 Click Scan.
5 Select the Photo or Several Photos option.
6 Click Start.
7 From the Save or Edit screen menu bar, click Save.
8 To save to another folder, click Browse, and select a folder. Click OK.
9 To rename the file, enter the name in the File Name area. To assign the name as a prefix to all of your photos,
select the Start all photos with File Name check box.
10 To save the photo as another file type, select the file type from the File Type drop-down list.
11 To select a date for the photo, click the drop-down list, and select a date from the calendar.
12 Click Save.
Scanning
148
