Step 1: Connect a Terminal and Log On
12 Avidia System Configuration and Management User Manual
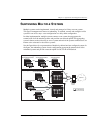
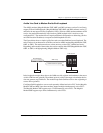
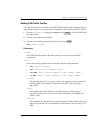
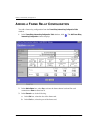
STEP 1: CONNECT A TERMINAL AND LOG ON
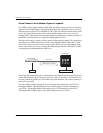
The first step in an initial Avidia system configuration is to set up a local connection to
the command-line interface. You access the command-line interface locally by connecting
either an ASCII terminal or a PC running a terminal emulation program to the management
card craft port.
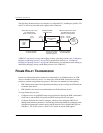
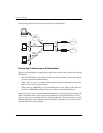
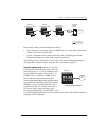
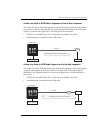
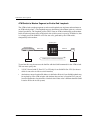
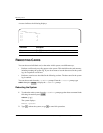
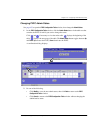
1 Connect one end of an RS-232 DB9 cable to the serial port on an ASCII terminal or PC,
then connect the other end of the cable to the craft port on the front of the Avidia
management card.
Refer to your system Hardware Installation Manual for help locating the management card
craft port and for cabling pinouts.
2 Power up the ASCII terminal or PC.
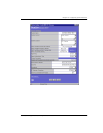
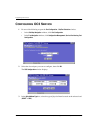
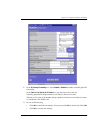
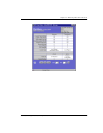
3 If you are using a PC as a terminal, run a terminal emulation program such as
HyperTerminal or ProComm.
See the terminal emulation program documentation for instructions.
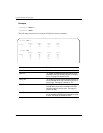
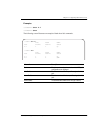
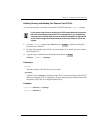
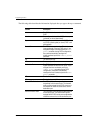
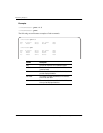
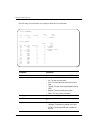
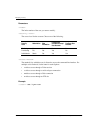
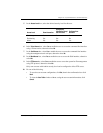
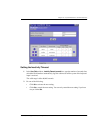
4 Configure your terminal or PC terminal emulation program as follows:
• baud rate: 9600 bps
• data bits: 8
• parity: none
• stop bits: 1
• flow control: none
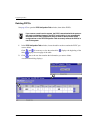
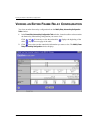
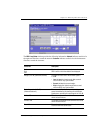
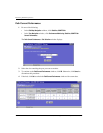
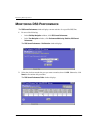
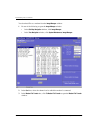
5 If you are using a PC, in the terminal emulation program select the COM setting of the port
to which the RS-232 cable is connected (for example, COM1 or COM2).
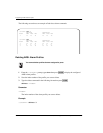
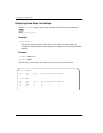
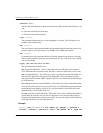
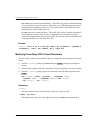
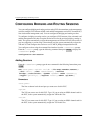
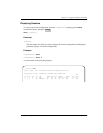
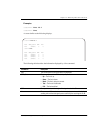
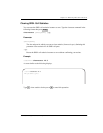
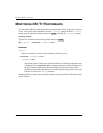
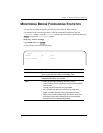
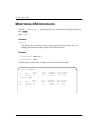
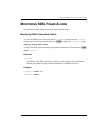
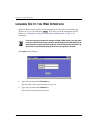
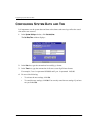
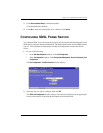
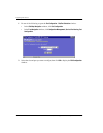
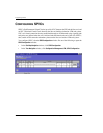
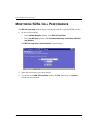
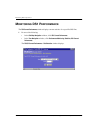
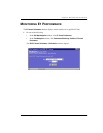
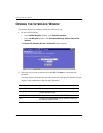
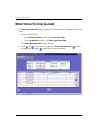
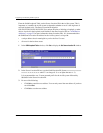
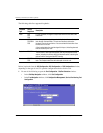
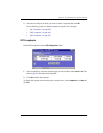
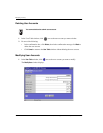
6 Press to initiate the terminal session and display the username: prompt.
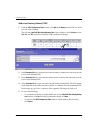
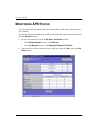
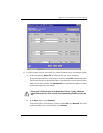
7 Type your user name, then press .
The user name admin is preconfigured for your use.
The Password prompt displays.
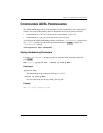
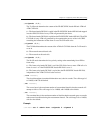
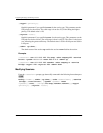
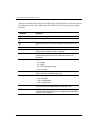
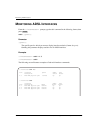
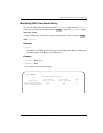
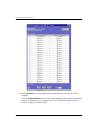
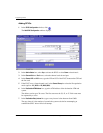
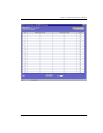
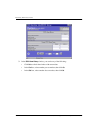
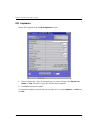
8 Type your password, then press .
The password for the preconfigured admin user name is dslam.
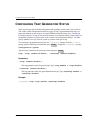
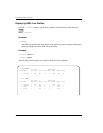
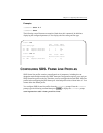
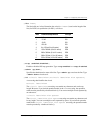
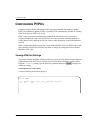
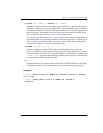
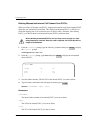
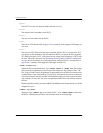
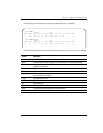
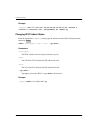
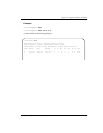
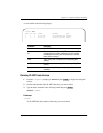
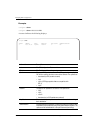
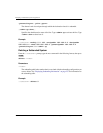
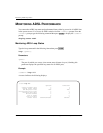
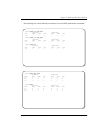
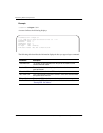
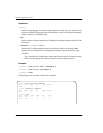
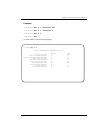
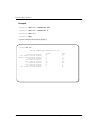
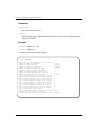
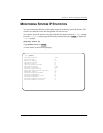
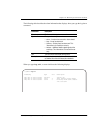
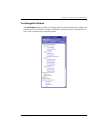
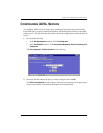
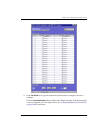
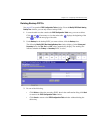
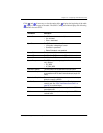
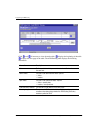
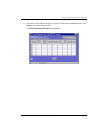
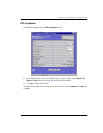
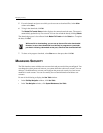
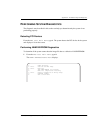
The system displays a list of general commands and navigational tips, followed by the
::root=> prompt.
ENTER
ENTER
ENTER