Chapter 22: Configuring ATM Virtual Circuits
Avidia System Configuration and Management User Manual 459
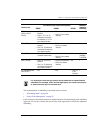
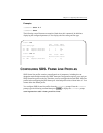
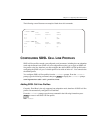
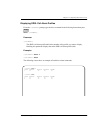
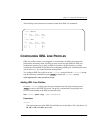
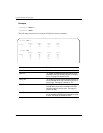
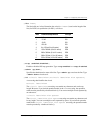
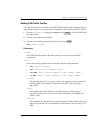
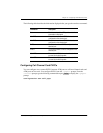
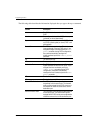
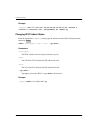
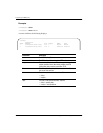
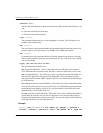
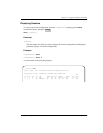
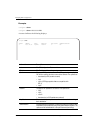
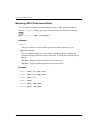
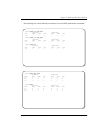
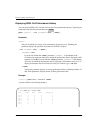
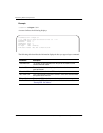
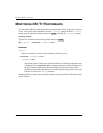
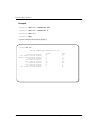
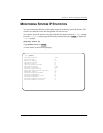
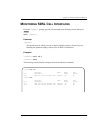
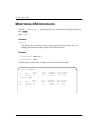
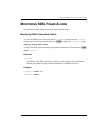
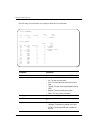
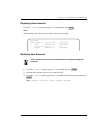
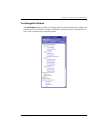
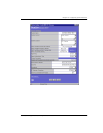
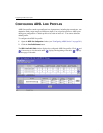
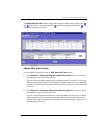
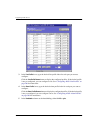
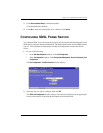
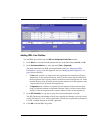
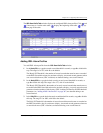
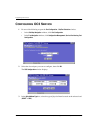
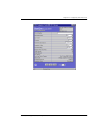
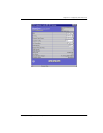
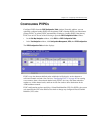
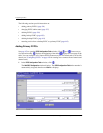
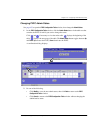
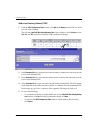
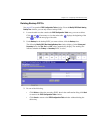
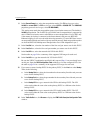
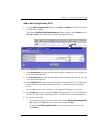
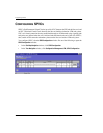
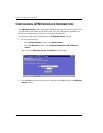
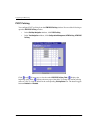
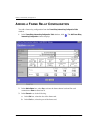
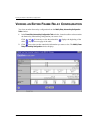
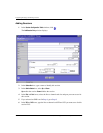
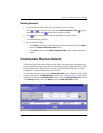
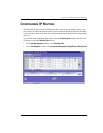
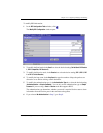
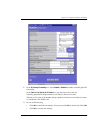
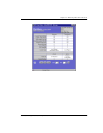
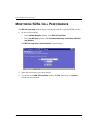
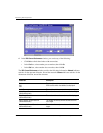
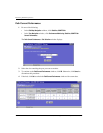
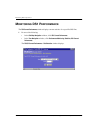
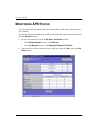
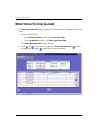
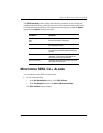
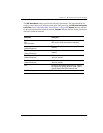
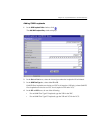
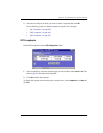
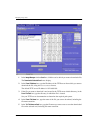
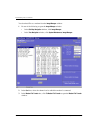
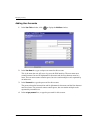
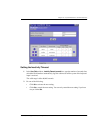
Adding ATM Routing Table Entries
1 In the ATM Routing Table window Slot and Port boxes, select the line card slot to which you
want to route traffic when the current line card fails.
2 In the Admin box, select Active to activate the static route or select Inactive to deactivate it.
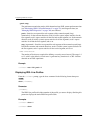
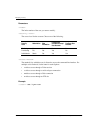
3 In the
Matching Length box, type the number of ATM Destination Address Prefix octets you
want the system to consider when determining whether the ATM Routing Table entry
matches a particular SPVC.
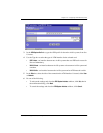
4 In the
ATM Destination Address box, type the destination ATM address for the static route.
The address can be up to 20 octets. The first octet must be 39, 45, or 47. Each octet must
be separated by a colon.
5 Click
Add to save the ATM Routing Table entry, otherwise click Cancel.
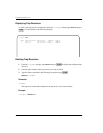
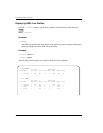
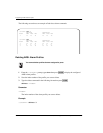
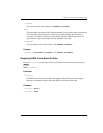
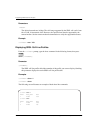
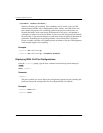
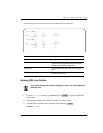
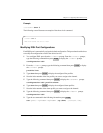
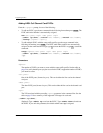
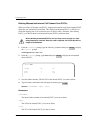
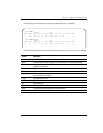
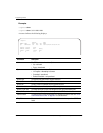
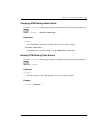
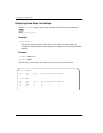
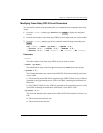
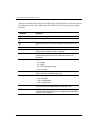
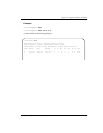
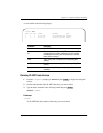
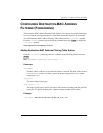
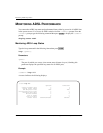
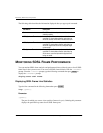
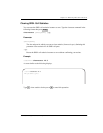
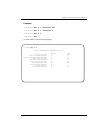
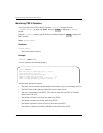
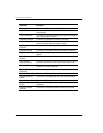
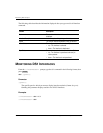
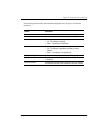
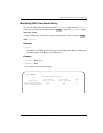
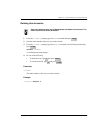
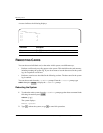
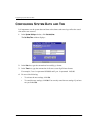
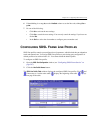
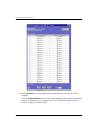
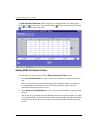
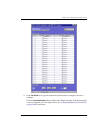
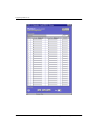
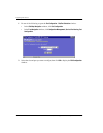
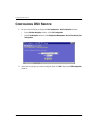
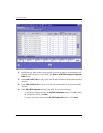
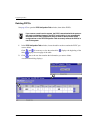
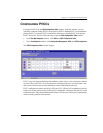
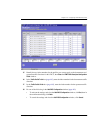
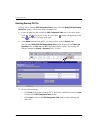
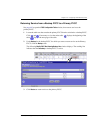
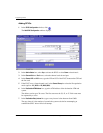
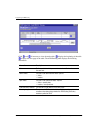
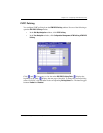
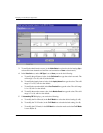
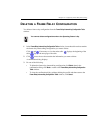
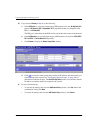
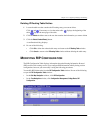
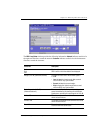
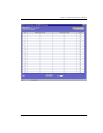
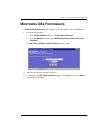
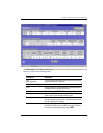
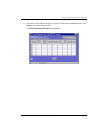
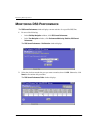
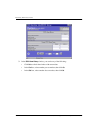
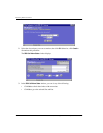
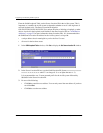
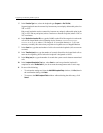
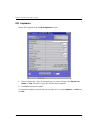
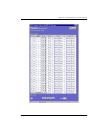
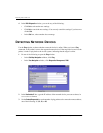
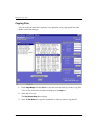
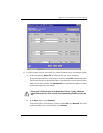
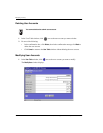
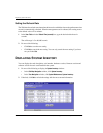
Deleting ATM Routing Table Entries
1 In the ATM Routing Table window, locate the table row that contains the entry you want to
delete.
Click and if necessary to view the entire table. displays the beginning of the
table. displays the next page of the table.
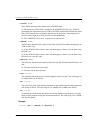
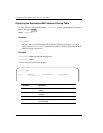
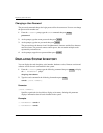
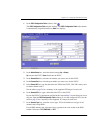
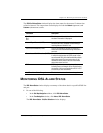
2 Select the Delete check box next to the table row you want to delete.
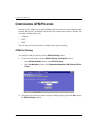
Click
Check All to select the Delete check box for all table rows, or click Clear All to clear
the Delete check box for all table rows.
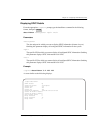
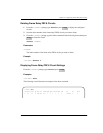
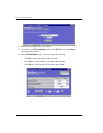
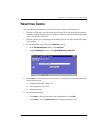
3 Click Delete Selected Entry(ies) to delete the selected table rows.
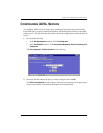
A confirmation dialog displays.
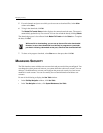
4 Click
OK to delete the selected table rows, otherwise click Cancel.