


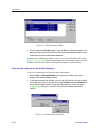


List Views
4-28 Adding Network Elements to the Node Database
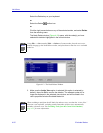
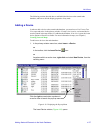
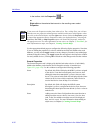
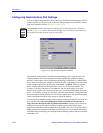
Figure 4-19. The Insert Device Window
2. In the Address field, enter the IP address assigned to the device you wish to
add.
3. In the Community Name field, enter a community name that will provide at
least Read access to the device you are adding. For full management access,
use a community name that will provide superuser access.
4. Click OK to start the insertion process. If the device is successfully
contacted, the Device Properties window, Figure 4-21, opens. Use the pages
in this window to change or configure the device’s display properties (as
described in the following sections), then click on OK.
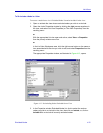
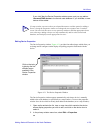
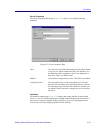
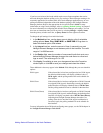
If the device cannot be contacted, the Insert Device window will expand to
display the Timeout and Retry counters, and a message window opens (as
illustrated in Figure 4-20).
Figure 4-20. Device Timeout Windows
TIP
If you have configured and activated the Autofill options (either via the Welcome Wizard
or via the Tools—>Options window), the autofill values you have set for IP address and
community name display automatically in the appropriate fields. You can keep these
defaults or replace them, as necessary.
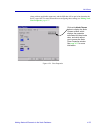
If the selected device does not
respond within the defined number
of retries, you will be given the
option to create a PING device.