


Creating Network Maps
6-12 Building Your Network Map
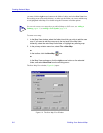
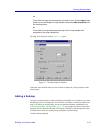
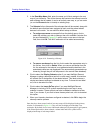
Figure 6-6. The Font Window
2. Select the desired font, style, size, effect, and color using the appropriate
fields; note that the effect of the selected options will be displayed in the
Sample text box.
3. Click OK to exit the window and apply your changes. The selected font style
will be applied to all icon and symbol labels in the map.
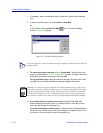
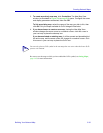
Editing Map Properties
You can change any and all of the above settings — including the name of a map or
submap — via the Map View Properties window, which is essentially a duplicate of the
New Map View window described in the previous section.
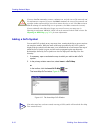
To change the properties of an existing map:
1. From the primary window menu bar, with the focus set to the appropriate
open map, select View—>Properties.
or
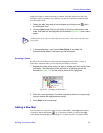
In the Map View workspace, click the right mouse button on the map whose
properties you wish to view, then select Properties from the resulting menu.
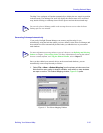
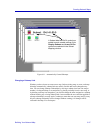
NOTE
Note that the settings in this window only affect the text used in the icon and symbol labels
which are applied automatically; to select a font for any added text, use the Text tool
described in Using Text, page 6-37.