


Creating Network Maps
6-52 Customizing Your Map
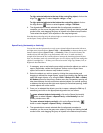
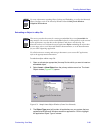
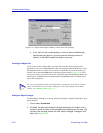
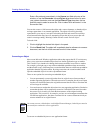
Figure 6-33. Sample Insert Object Window (Create From File Selected)
b. If you wish to link the existing object, be sure to select the Link option
before placing the object in your map (see the following section for
details), or click OK to embed the object in your map.
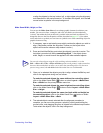
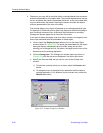
Creating an Object Link
If you wish to create a linked object, you must first create the object using its native
application, save it as an independent file, then use the process described above to select
the independent file as an object. Once you have selected the file you want to link, you
must be sure to select the Link option in the Insert Object window (Figure 6-33) before
closing the window. If you do not select the Link option when first placing the object, the
object will be embedded, and you cannot change an embedded object to a linked object
once it has been placed.
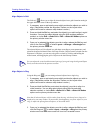
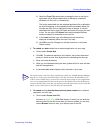
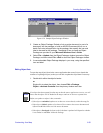
Adding an Object Package
To add an Object Package to your map, make sure Package is selected in the Object Type
panel, and then:
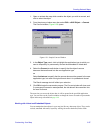
1. Click to select Create New.
2. Click OK. The Microsoft Windows Packager application will initialize, with a
window in which to create a new package to be embedded into the map. The
title bar of the Package window will read “Object Packager: Package in XXX
Map” (see Figure 6-34).
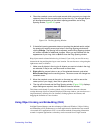
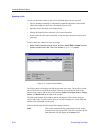
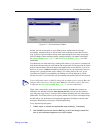
TIP
You can view information about your linked objects, change the source file for a linked
object, and break the link to an object (making it a static map element) via the Links
window; see Updating a Link, page 6-54.