


Creating Network Maps
6-10 Building Your Network Map
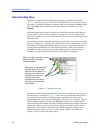
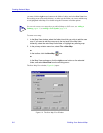
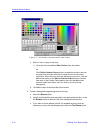
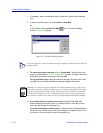
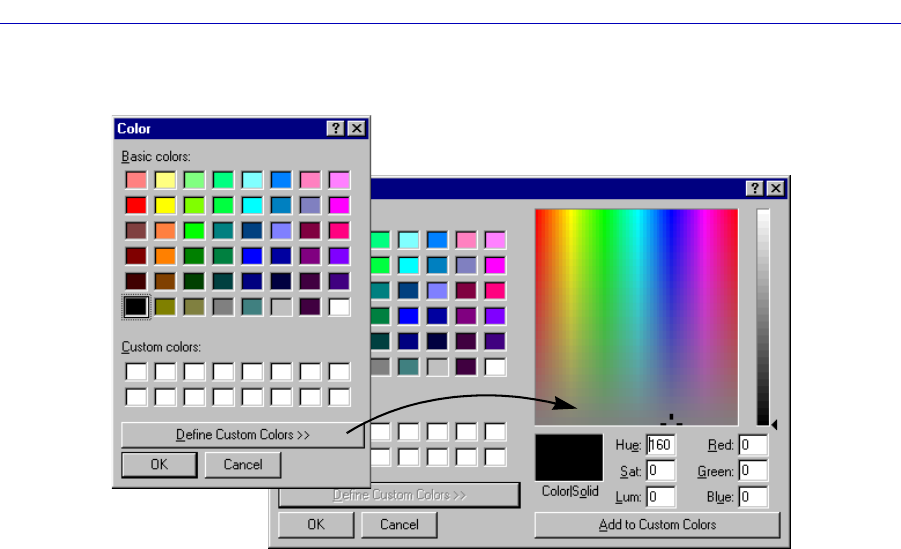
Figure 6-5. Color Window (Expanded with Custom Colors)
c. Select a color to apply to the map:
1.) Click one of the pre-defined Basic Colors from the palette.
or
Click Define Custom Colors option to expand the window, and use
the cross-hair and color slide bar to create a color from the color
refiner box. When the color has been defined as you want it, click the
left mouse button on the Add to Custom Colors button to create a
new entry in the Custom Colors palate, then click the left mouse
button to select the custom color you wish to use for the map
background.
d. Click OK to return to the New Map View window.
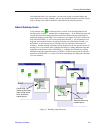
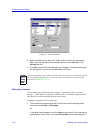
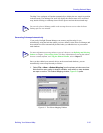
2. To add a bitmapped image background to the map:
a. Select the Bitmap option.
b. Specify the bitmap file name (and path) in the appropriate text box, or use
the Browse button to select the file from the appropriate directory.
c. If you want to tile the bitmap (so that it is repeated as many times as
necessary to cover the map background), select the Tile Bitmap option.