


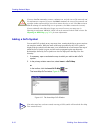


Creating Network Maps
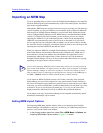
6-22 Importing an MRM Map
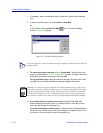
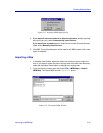
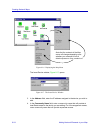
3. Use the Look in field to select the appropriate directory, then select the file
you wish to import in the list box. The selected file opens in the File name:
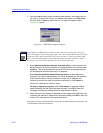
text box; click on Open to import the file. The Import Progress window,
Figure 6-15, opens.
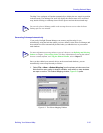
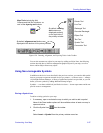
Figure 6-15. MRM Import Progress Indicator
4. If you have selected the automatic insertion option, a mini-discovery will
be performed to contact any devices not already present in the central node
database. This is the process that can take some time; a message window
will be displayed while the discovery is in progress.
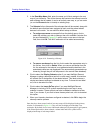
If you have selected the manual insertion option, for each device not
located in the central node database you will be prompted with the standard
Insert Device window. Use this window to confirm the IP address and
community name to be used in the discover process, or click Cancel to
remove the noted device from the import.
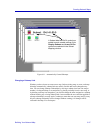
To stop an import in progress, select Stop Import. A message window
opens indicating that the import has been stopped. Click OK to clear the
message; note that the partially-imported map remains in place.
5. When the import is complete, a message window opens noting that fact and
indicating the number of nodes which have been added; click OK to clear the
window. The new map file will be open and active.
Importing a root map will automatically import all associated submaps (if necessary), and
re-establish their hierarchical structure.
NOTE
If you import an .MRM map which has the same name as an existing map, one of two
things will happen: if the existing map is open, you will be notified that a map of the same
name exists and is open, and asked if you want to activate it; if the existing map is not
open, you will be notified that a map of the same name exists and asked if you wish to
overwrite it. You will not have the option of overwriting an open map.