Chapter 9 Connectivity Management
9.2 Functions in the Action Area for Connectivity
ETERNUS Web GUI User’s Guide
Copyright 2013 FUJITSU LIMITED P2X0-1090-10ENZ0
455
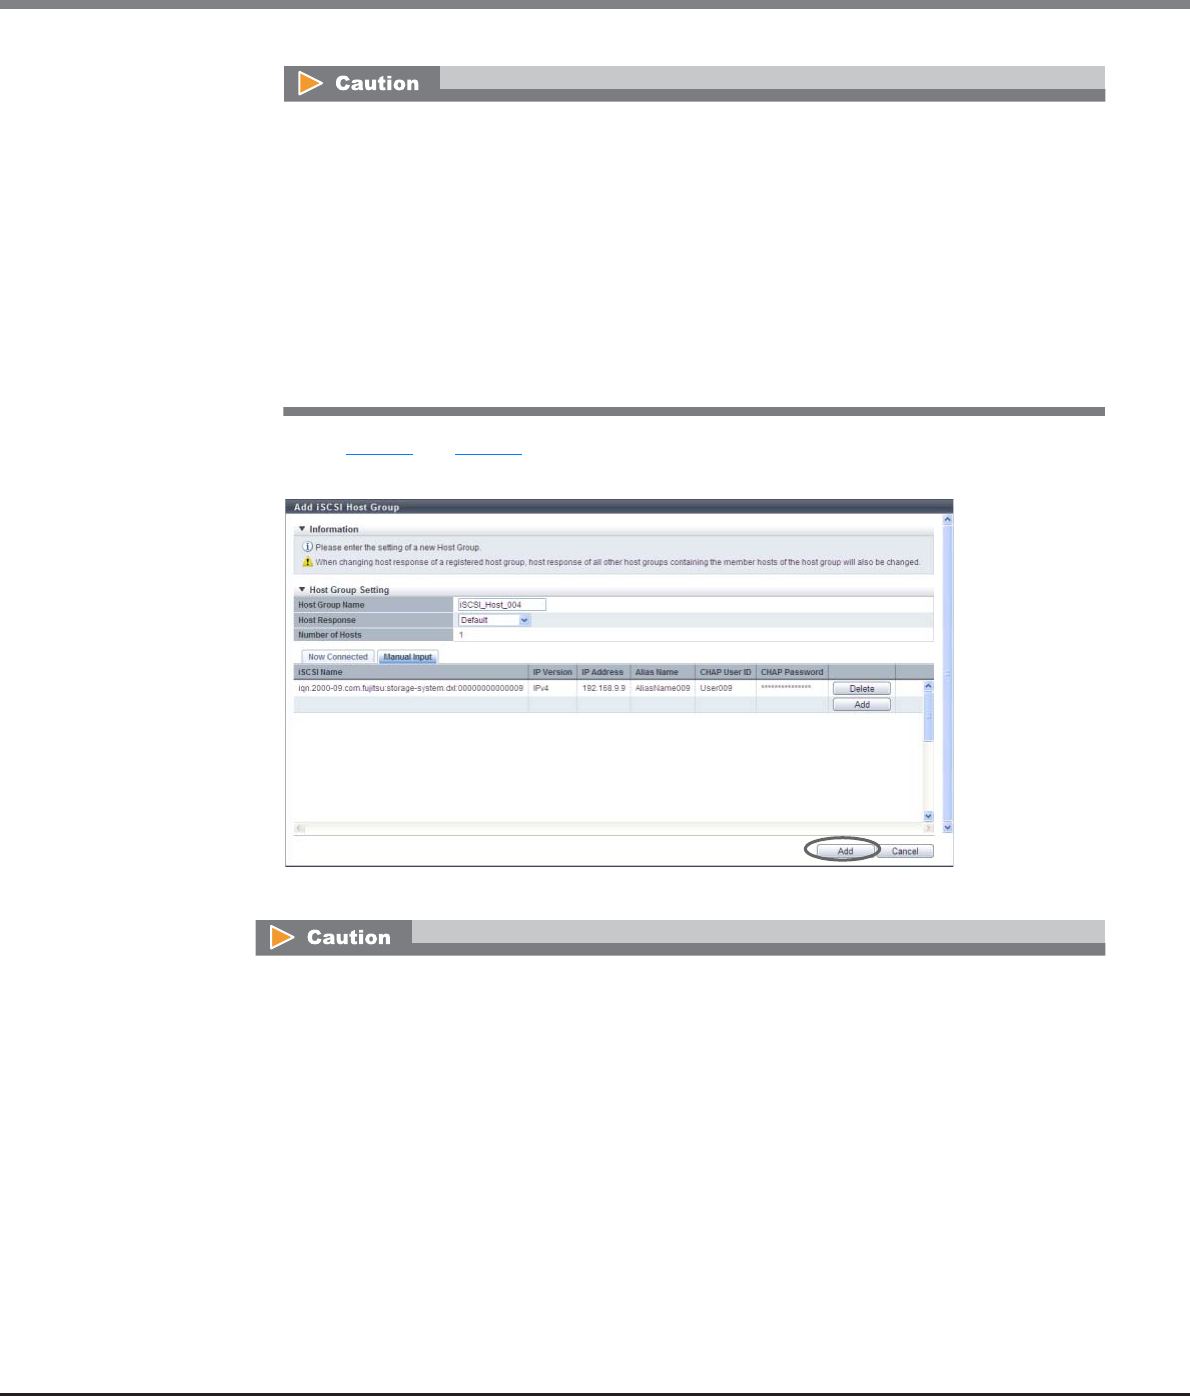
(4) Repeat Step (2) and Step (3) to set more iSCSI hosts.
(5) After adding the iSCSI host is complete, click the [Add] button.
→ A confirmation screen appears.
An error screen appears in the following conditions:
• When the "iSCSI Name" is not input
• When the "iSCSI Name" does not satisfy the input conditions
• When the "IP Address" does not satisfy the input conditions
• When the "Alias Name" does not satisfy the input conditions
• When the "CHAP User ID" does not satisfy the input conditions
• When the "CHAP Password" does not satisfy the input conditions
• When the "Confirm CHAP Password" does not satisfy the input conditions
• When the "CHAP Password" and the "Confirm CHAP Password" do not match
• When either of the "CHAP User ID" or the "CHAP Password" has been specified
An error screen appears in the following conditions:
• When the "Host Group Name" is not entered
• When the "Host Group Name" does not satisfy the input conditions
• When the "Host Group Name" overlaps with an existing host group name
(Host group names cannot overlap with any other host group names, irrespective of the interface
types.)
• When the "IP Address" is specified and an iSCSI host with the same "iSCSI Name" and "IP Address" is
already registered
• When the "IP Address" is not specified and an iSCSI host with the same "iSCSI Name" and "IP
Version" is already registered
• When the same iSCSI name is specified for multiple iSCSI hosts
• When the "Alias Name" overlaps the existing Alias name


