


4-23
Cisco PGW 2200 Softswitch Release 9.8 Software Installation and Configuration Guide
OL-18083-01
Chapter 4 Configuring the Cisco PGW 2200 Softswitch Software
Configuring SNMP Support Resources
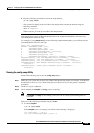
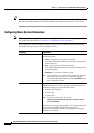
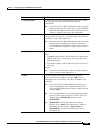
Step 5 Enter your selection. For detailed procedures for your selection, refer to the following list:
• Adding an SNMP Community Entry, page 4-17
• Deleting an SNMP COMMUNITY, page 4-19
• Adding a Trap Destination, page 4-20
• Deleting a Trap Destination, page 4-22
• Activating the New Settings, page 4-23
• Verifying the SNMP Configuration Migration, page 4-24
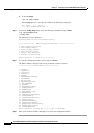
The procedures for deleting a Trap Destination is now complete. Proceed to the selection you entered in
the SNMPD Configuration Main Menu.
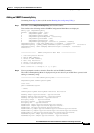
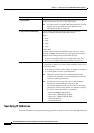
Activating the New Settings
From the SNMPD Configuration Main Menu:
Step 1 Enter 6 to activate the new settings:
6
Text similar to the following is displayed:
Backing up the current snmpd.cnf to snmpd.cnf.backup.
snmpd.cnf.backup already exists. Do you want to overwrite the file [y]/[n]?
Note If you choose n, your backup file will not be updated.
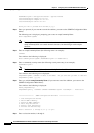
Step 2 Enter y to activate the new settings.
y
Are you sure you would like to Activate the New Settings [y]/[n]?
Note If you choose y, your SNMPD.dat file will be updated and you will be exited from the utility.
If you choose n, your SNMPD.dat file will not be updated and you will be exited from the utility.
Step 3 Enter y to activate the new settings (if you enter n to cancel the activation, you return to the SNMPD
Configuration Main Menu).
Text similar to the following is displayed:
snmpd.cnf file has been updated.
The procedure for activating the new settings is now complete and you are exited from the config-snmp
utility. Proceed to the following section, “Verifying the SNMP Configuration Migration”.