


2-85
Cisco PGW 2200 Softswitch Release 9.8 Software Installation and Configuration Guide
OL-18083-01
Chapter 2 Installing the Sun Solaris 10 Operating System
Loading the Sun Solaris 10 Operating Environment
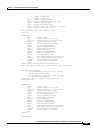
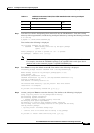
nvramrc=devalias backup_root /pci@1f,0/pci@1/scsi@8/disk@1,0
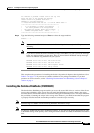
Then bring the machine down to the boot prompt
# /usr/sbin/shutdown -g0 -y -i0
.... system shuts down....
ok boot backup_root
The machine should reboot from the second disk. The following
text will be found in the boot output. This ensures that the
machine was working from the second drive:
a) Executing last command: boot backup_root
b) Boot device: /pci@1f,0/pci@1/scsi@8/disk@1,0 File and args:
The boot device listed should match the output from the
nvramrc= output from above
Step 12 If you want to set up your system to be able to reboot from the second disk, proceed to the “Rebooting
from the Mirrored (Secondary) Disk on Sparc-based Platforms” section on page 2-85 or the “Rebooting
from the Mirrored (Secondary) Disk on Opteron-based Platforms” section on page 2-87. Otherwise,
proceed to Step 15.
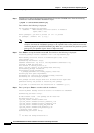
Step 13 Type the following command and press Enter to reboot your system.
#/usr/sbin/shutdown -g0 -y -i6
The DiskSuite installation is now complete. If you want to configure your system to reboot from the
mirrored disk, go to the “Rebooting from the Mirrored (Secondary) Disk on Sparc-based Platforms”
section on page 2-85 or the “Rebooting from the Mirrored (Secondary) Disk on Opteron-based
Platforms” section on page 2-87. If you want to return to the list for package installation, go to Table 2-2
on page 2-72.
Rebooting from the Mirrored (Secondary) Disk on Sparc-based Platforms
Caution Rebooting from the mirrored (secondary) disk is normally done only after a catastrophic failure of the
primary disk.
Perform the following procedure to add an alias in the boot ROM so you can boot from the secondary
disk, if necessary.
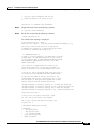
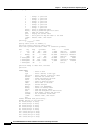
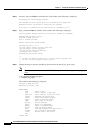
Step 1 Get the information from the system on the second disk that you will boot from. Type the following
command and press Enter:
# prtconf -vp | grep pci | grep disk1
Text similar to the following is displayed:
disk1: ‘/pci@1f,0/pc1@1/scsi@8/disk1,0’