Configuring System Information
62
ProSafe M5300 Switch
To configure a DHCPv6 Pool:
1. From the Pool Name field, select Create and enter name for the Pool to be created. To
modify information for an existing DHCPv6 pool, select the name of the pool to
configure.
2. If you are configuring a new DHCPv6 pool, specify a unique name for the pool in the Pool
Name field.
3. Click the DNS Server Addresses field to expand the field, and enter the IPv6 address for
one or more DNS servers.
4. Click the Domain Name field to expand the field, and specify one or more DNS domain
server names for the pool. Each name may contain up to 255 alphanumeric characters.
5. Use APPLY to send the updated configuration to the switch. Configuration changes take
effect immediately.
6. Use DELETE to delete the pool selected in the Pool Name field.
DHCPv6 Prefix Delegation Configuration
With the larger address space inherent to IPv6, addresses within a network can be allocated
more effectively in a hierarchical fashion. DHCPv6 introduces the notion of prefix delegation
as described in RFC 3633 as a way for routers to centralize and delegate IP address
assignment.
DHCPv6 clients may request multiple IPv6 prefixes. Also, DHCPv6 clients may request
specific IPv6 prefixes. If the configured DHCPv6 pool contains the specific prefix that a
DHCPv6 client requests, then that prefix will be delegated to the client. Otherwise, the first
available IPv6 prefix within the configured pool will be delegated to the client.
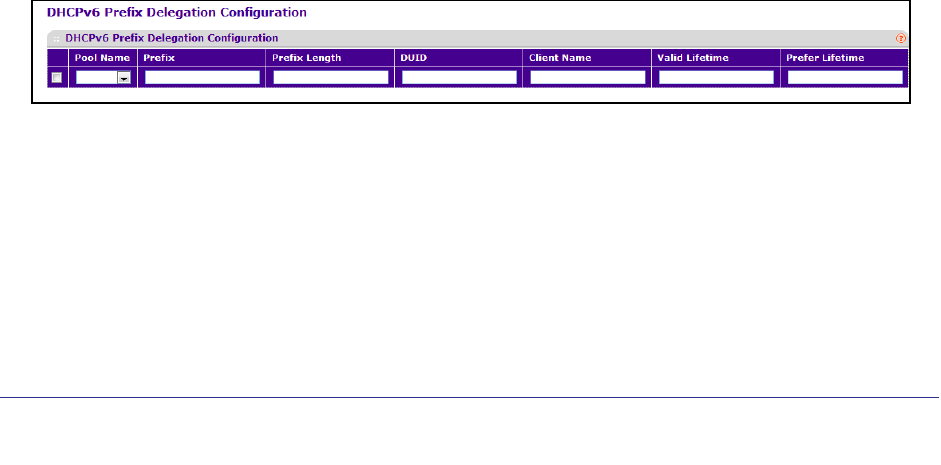
Use the Prefix Delegation Configuration page to configure a delegated prefix for a pool. At
least one pool must be created using DHCPv6 Pool Configuration before a delegated prefix
can be configured.
To display the DHCPv6 Prefix Delegation Configuration page, click System > Services >
DHCPv6 Server> DHCPv6 Prefix Delegation Configuration. A screen similar to the
following displays.
To configure the Prefix Delegation information:
1. Use Pool Name to select the Pool Name.
2. Specify the Prefix and Prefix Length of the delegated IPv6 prefix in the appropriate fields.
3. In the DUID field, specify the client's unique DUID value.
4. In the Client Name field, specify the client's name, which is useful for logging or tracing only.
It may be up to 31 alphanumeric characters.
