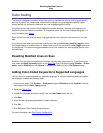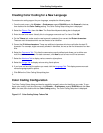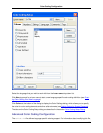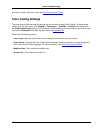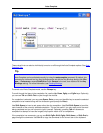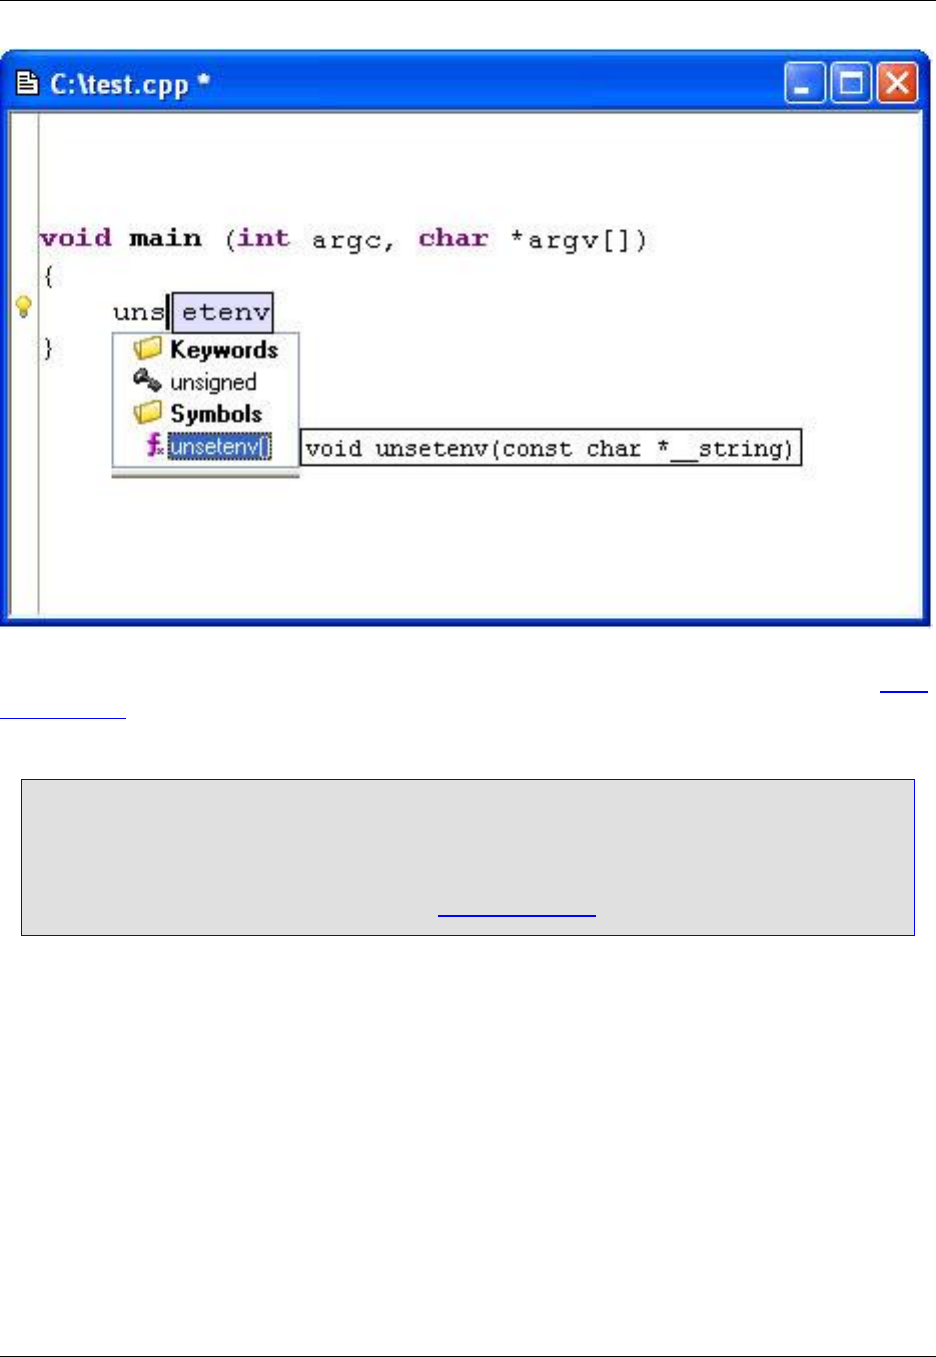
These visual hints can also be individually turned on or off through the Auto-Complete options. See Auto-
Complete Tab.
Tip
Auto-Complete can be activated manually by using the autocomplete command. By default, this
command is not bound to a key. Key bindings can be set with the Key Bindings dialog (click Win-
dow → Preferences, expand SlickEdit and click General in the tree, then double-click the Key
Bindings setting). For more information, see Creating Bindings.
To cancel out of Auto-Complete mode, use the Escape key.
To scroll through the items in the completion list, use the Up, Down, PgUp, and PgDn keys. Optionally,
you can use Tab and Shift+Tab to cycle through the choices.
If a completion is selected, you can press Space, Enter, or any non-identifier key to cause the selected
completion to be inserted along with the character typed (except for Enter).
Use Shift+Space to insert a real space rather than the completion. Use Ctrl+Shift+Space to insert the
next character of the currently selected completion. This can be useful if you only want part of the word
being completed and you do not want to type it yourself. Optionally, pressing Tab will cause auto-
completion to attempt to insert the longest unique prefix match of all its completions.
If the completion has comments, you can use Shift+PgDn, Shift+PgUp, Shift+Home, or Shift+End to
page through the comments. Use Ctrl+C to copy the comments for the current item to the clipboard.
Auto-Complete
147


