


Introduction
Removal and replacement procedures are provided for all replaceable parts in the printer.
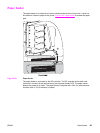
Removal and replacement strategy
This chapter explains how to remove and replace major printer components. (HP does not
support repairing individual subassemblies or troubleshooting to the component level.)
Replacement is generally the reverse of removal. Occasionally, directions for difficult or
critical replacement procedures are included.
WARNING!
The information in this section is intended for authorized service personnel only.
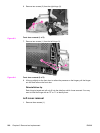
Repair notices
WARNING!
Turn the printer off, wait five seconds, then unplug the power cord before servicing the
printer. Failure to completely disconnect the printer could result in severe injury.
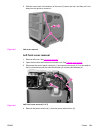
Never operate or service the printer with the protective cover removed from the laser/
scanner assembly. The reflected beam, although invisible, can damage your eyes.
Never operate the printer with any parts removed.
The sheet-metal parts can have sharp edges. Be careful not to cut yourself when handling
sheet-metal parts.
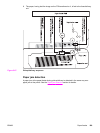
Caution regarding electrostatic discharge (ESD)
The printer contains parts that are sensitive to electrostatic discharge (ESD). Watch for the
ESD reminder shown at the left when removing printer parts. Protect the parts that are
sensitive to ESD with protective ESD pouches.
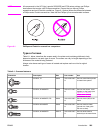
Required tools
Before servicing the printer, gather the following tools:
● Phillips #2 magnetized screwdriver (152 mm [ (6 inch)] shaft)
● Small flat-blade screwdriver
● Small needle-nose pliers
● ESD strap
● Penlight (optional)
204 Chapter 6 Removal and replacement ENWW