


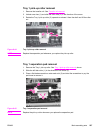
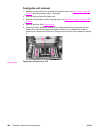
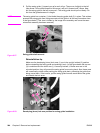
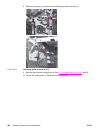

9. Pull the swing guide (1) toward you as far as it will go. Then move it slightly to the left
(this allows it to be pulled forward a little more), and pull it forward until it stops. Now,
pull the swing guide to the left to remove it. The swing guide should pull out easily. Do
not force the guide because it is fragile.
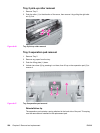
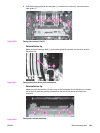
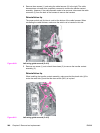
NOTE
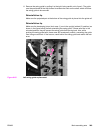
The swing guide has a retainer (1) that holds the swing guide shaft (2) in place. This retainer
prevents the swing guide from being removed until the guide is all the way forward as show
in the figure below. (This view is hidden by the image drive assembly and cannot be seen
unless that assembly has been removed.)
Figure 6-57.
Swing guide shaft removal
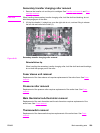
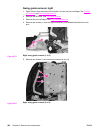
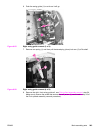
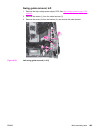
Reinstallation tip
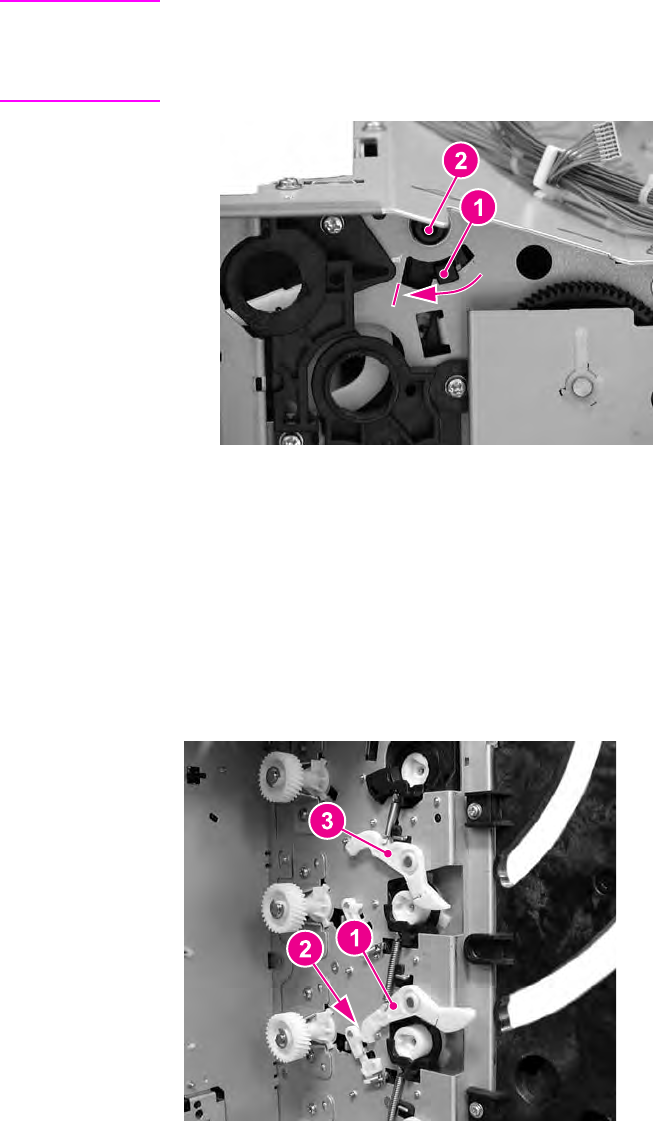
Make sure the developing (drum) lock arms (1) are in the upright, latched (2) position
before reinstalling the swing guide and pushing it back. (In the figure below the top arm
(3) is unlatched and the lower arm (1) is correctly latched.) If these arms are in the
unlocked position, they will prevent the swing guide from moving back. Also, these arms
will occasionally unlatch while pushing the swing guide back, preventing the guide from
being moved back. If that occurs, pull the swing guide forward, reach behind the guide,
and relatch the lock arms.
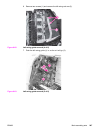
Figure 6-58.
Developing (drum) lock arm position for swing guide installation
244 Chapter 6 Removal and replacement ENWW