


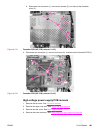
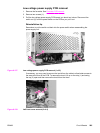
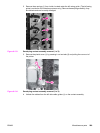
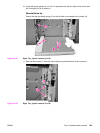

2. Remove three springs (1) from inside, located under the left swing guide. (The left swing
guide is not shown for illustration purposes only.) Remove these springs carefully; they
are delicate and can be easily damaged.
Figure 6-133.
Developing contact assembly removal (1 of 3)
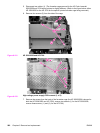
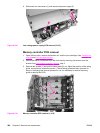
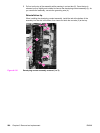
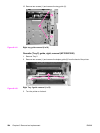
3. Remove the plastic cover (1) by pressing in on two tabs (2) and pulling the cover out of
the printer.
Figure 6-134.
Developing contact assembly removal (2 of 3)
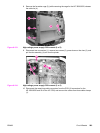
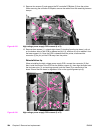
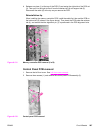
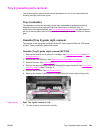
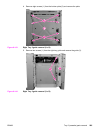
4. Unhook the cables from the left side cable guides (1) on the contact assembly.
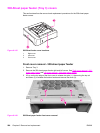
ENWW Miscellaneous parts 289