


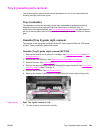
Tray 2 (cassette) parts removal
The following section describes the removal procedures for Tray 2 and associated parts,
including the right guide in the printer.
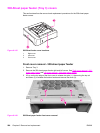
Tray 2 (cassette)
The separation pad and the end plate are the only replaceable components on the tray.
Replacement of any other component requires replacement of the entire tray. For
replacement of the separation pad, see
Tray 2 separation pad removal. For replacement of
the tray or the end plate, refer to Chapter 8, Parts and diagrams, for the location of the end
plate.
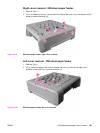
Cassette (Tray 2) guide, right, removal
The removal of the right guide is different for the HP Color LaserJet 3500 and 3700 series
printers. These procedures are provided below.
Cassette (Tray 2) guide, right, removal (HP 3700)
1. Remove the transfer unit and the print cartridges. See Transfer unit removal and Print
cartridge removal.
2. Remove the lower rear door. See
Lower rear door (rear output bin) removal.
3. Remove the fuser. See
Fuser removal.
4. Remove the paper drive gear plate and the paper drive gear and shaft. See
Pick-up/feed
assembly removal, steps 1 through 12.
5. Remove the left cover. See
Left cover removal.
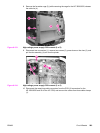
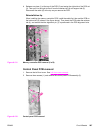
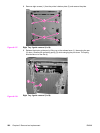
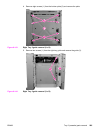
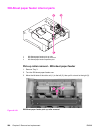
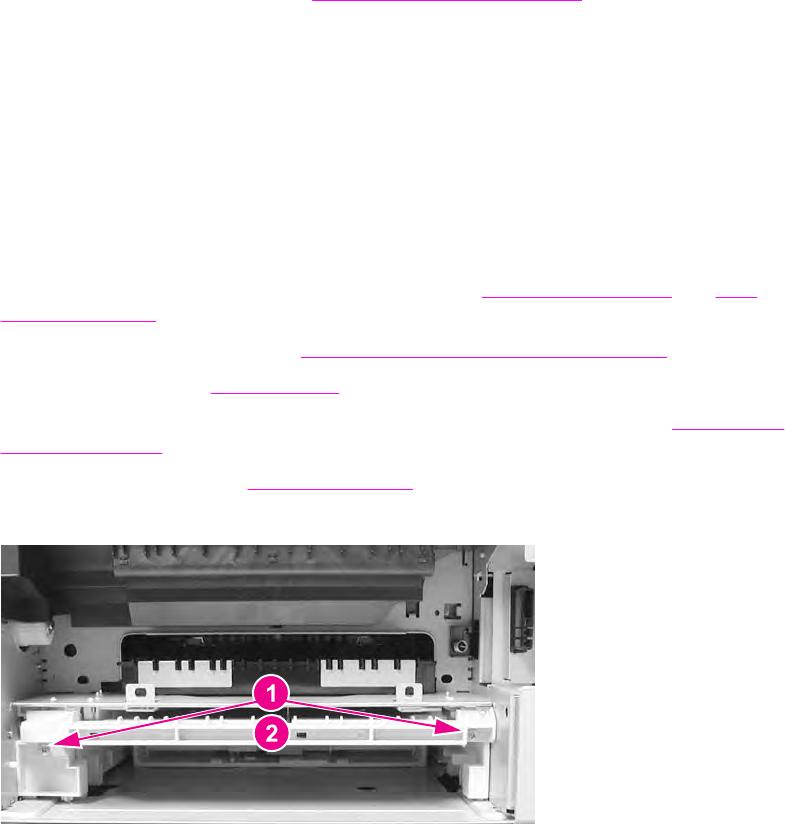
6. Remove two screws (1) and remove the duplex guide (2) from the back of the printer.
Figure 6-136.
Right Tray 2 guide removal (1 of 6)
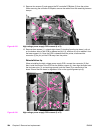
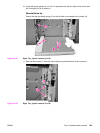
7. Turn the printer on its back side, carefully.
ENWW Tray 2 (cassette) parts removal 291