


e-STUDIO3511/4511 SCANNER 6 - 16 November 2003 © TOSHIBA TEC
6
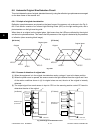
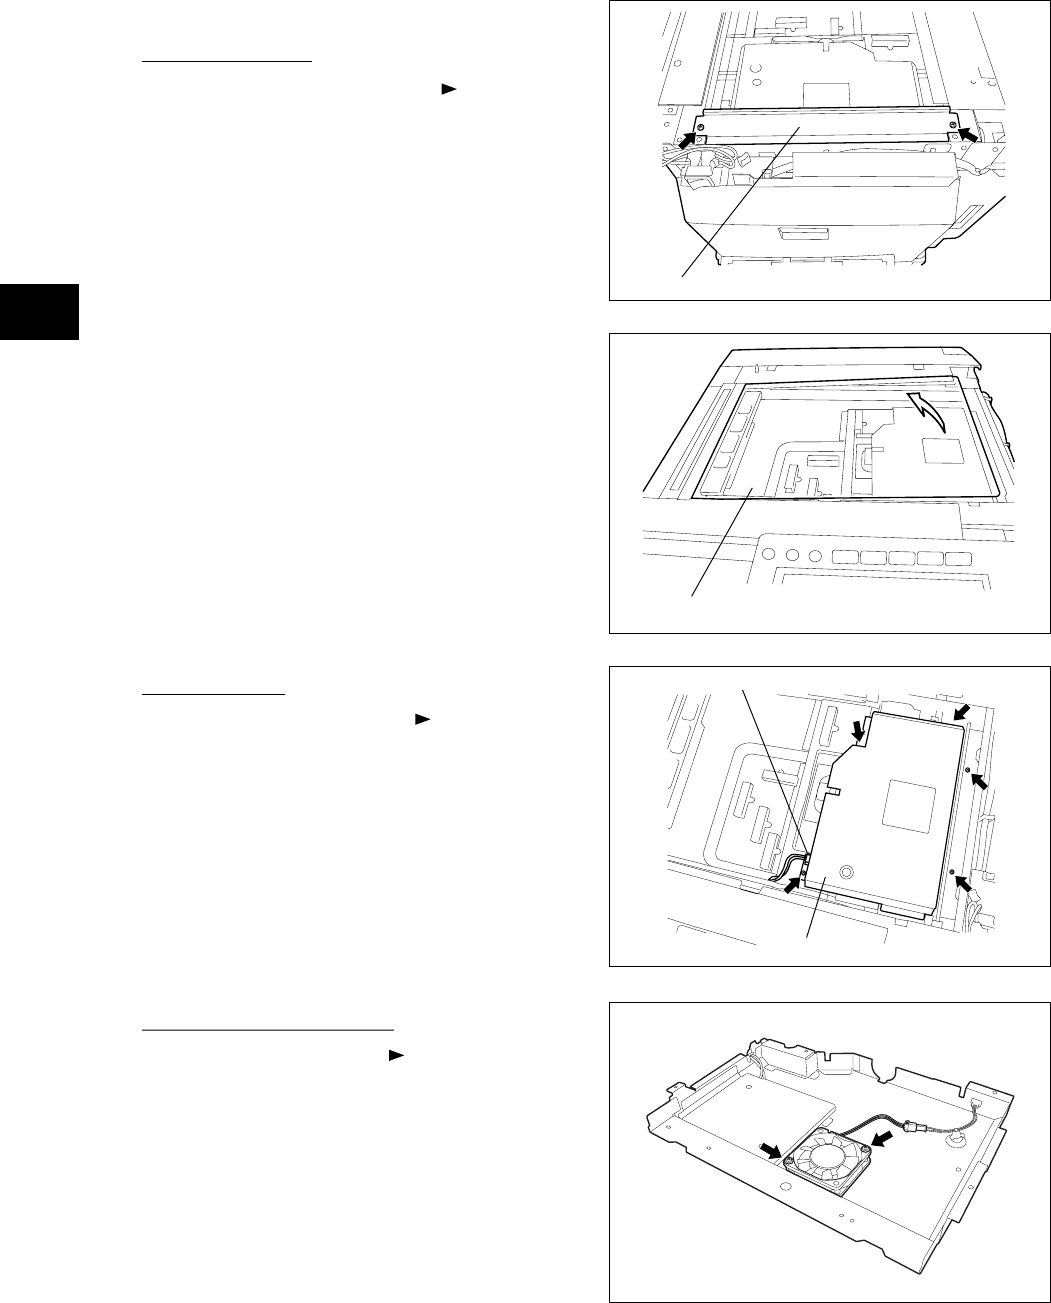
6.7 Disassembly and Replacement
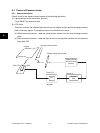
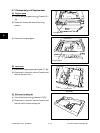
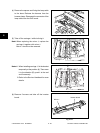
[A] Original glass
(1) Take off the right upper cover ( Chapter 2.5.1
[J]).
(2) Remove 2 screws and take off the fixing
bracket.
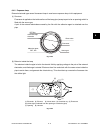
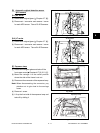
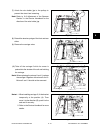
[B] Lens cover
(1) Remove the original glass ( Chapter 6.7 [A]).
(2) Disconnect 1 connector, remove 5 screws and
take off the lens cover.
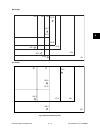
(3) Remove the original glass.
Original glass
Lens cover
Fig. 6-701
Fixing bracket
Fig. 6-702
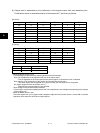
Fig. 6-703
Connector
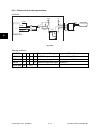
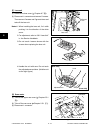
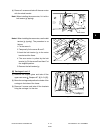
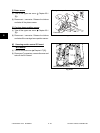
[C] SLG board cooling fan
(1) Take off the lens cover ( Chapter 6.7 [B]).
(2) Disconnect 1 connector, remove 2 screws and
take off the SLG board cooling fan.
Fig. 6-704