


e-STUDIO3511/4511 DRUM RELATED SECTION 11 - 10 November 2003 © TOSHIBA TEC
11
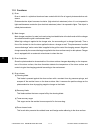
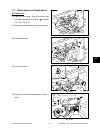
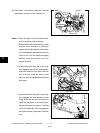
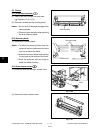
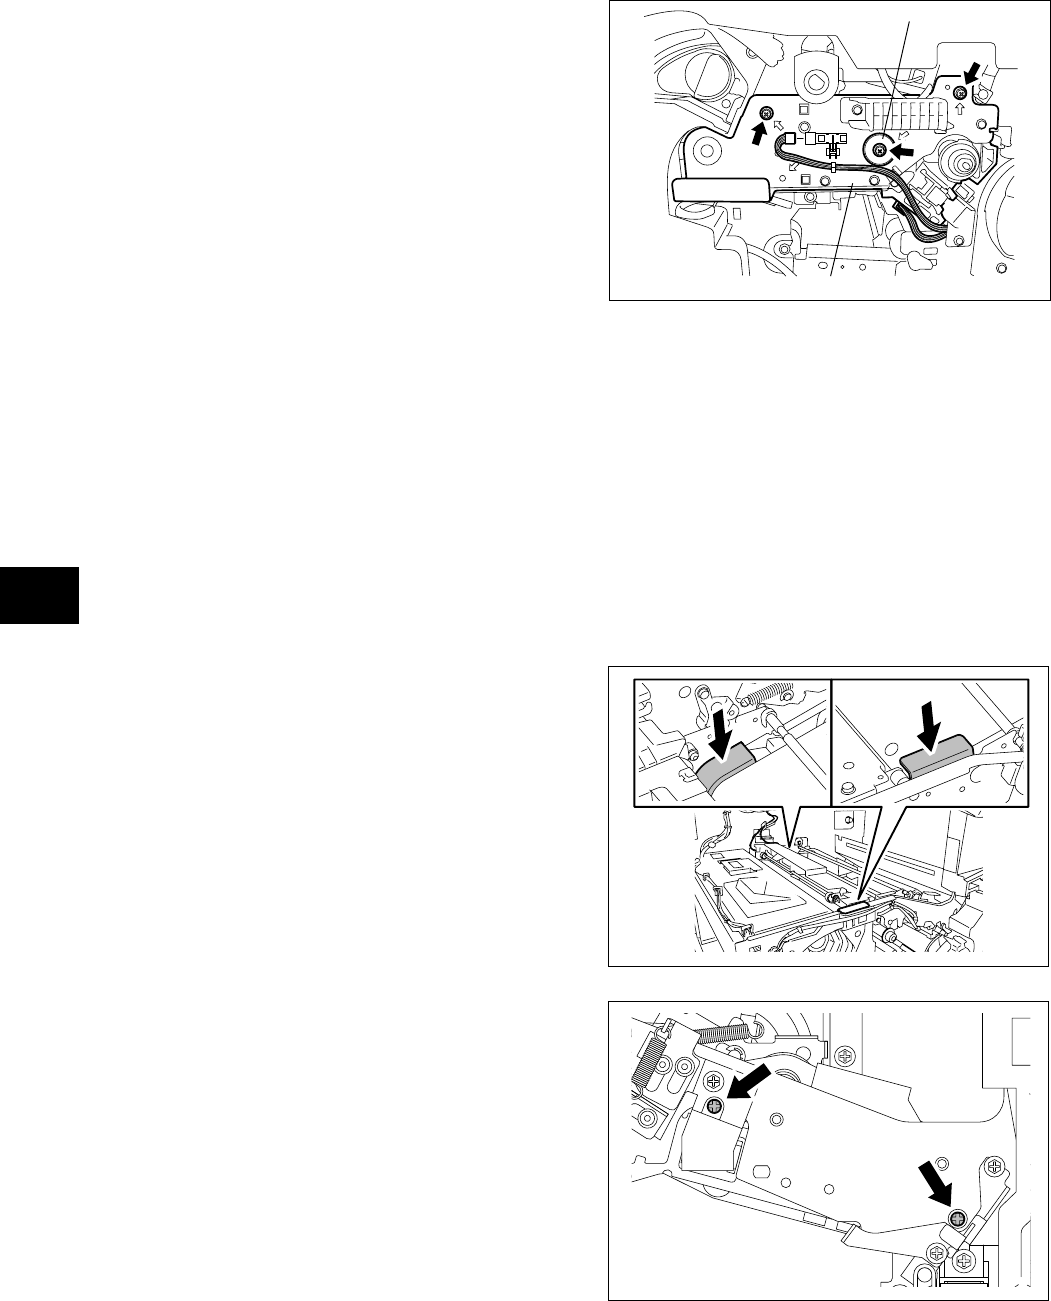
(6) Disconnect 2 connectors. Remove 3 screws
and washer and pull out the cleaner unit.
Fig. 11-705
Washer
Cleaner unit
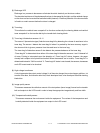
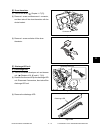
Notes: 1. When pulling out the drum cleaner unit,
pull out straightly without leaning.
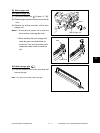
2. When pulling out the drum cleaner, check
whether color developer is taking the
regular position (the position where color
toner cartridge can be pulled out from the
front) or not. If it is not taking the regular
position, rotate the revolver unit to the
regular position.
Fig. 11-706
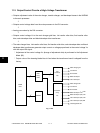
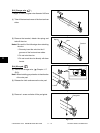
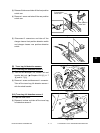
4. If the transfer belt drive gear is not prop-
erly engaged, the hole positions of the
fixing screw (as shown in the figure at
right) may not match. In this case, oper-
ate the main motor for approx. 1 second
in the Test Mode (03-101) to engage the
drive gear securely and then install the
unit.
Fig. 11-707
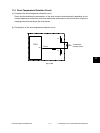
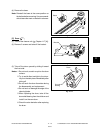
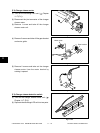
3. If the transfer belt drive gear is not prop-
erly engaged, take off the receiving tray,
and then press the unit down until the
unit is securely fixed (as shown in the
figure at right) to engage the transfer belt
drive gear.
04/05