


November 2003 © TOSHIBA TEC 10 - 23 e-STUDIO3511/4511 PAPER FEEDING SYSTEM
10
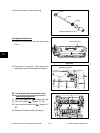
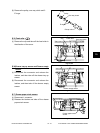
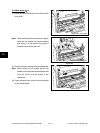
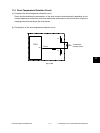
(3) Remove 3 screws and 1 E-ring. Then take off
the clutch fixing bracket.
(4) Take off the lower transport clutch (low speed)
and the lower transport clutch (high speed).
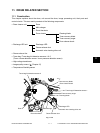
Notes:1. Do not push the transport roller shaft
strongly when installing the clutch fixing
bracket and tighten the screws in the
order of (a), (b) and (c). When the
installation is finished, open the side
cover and check if the transport roller
rotates smoothly.
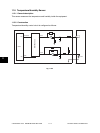
2. Attach the clutch to the shaft referring to
the figure on the right.
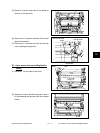
Fig. 10-449
Fig. 10-450
(
c
)
(a)
(b)
Bracket
Bracket
E-ring
Lower transport
clutch (Low speed)
Lower transport
clutch (High speed)
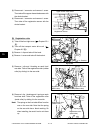
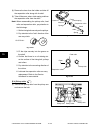
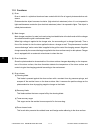
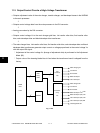
[G] Lower transport clutch (Low/High speed)
(1) Take off the tray drive unit ( Chapter 10.4
[F]).
(2) Remove 4 screws and take off the bracket.
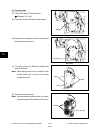
Fig. 10-451
Clutch
Shaft
0-0.5mm
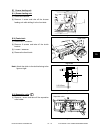
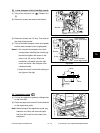
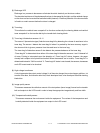
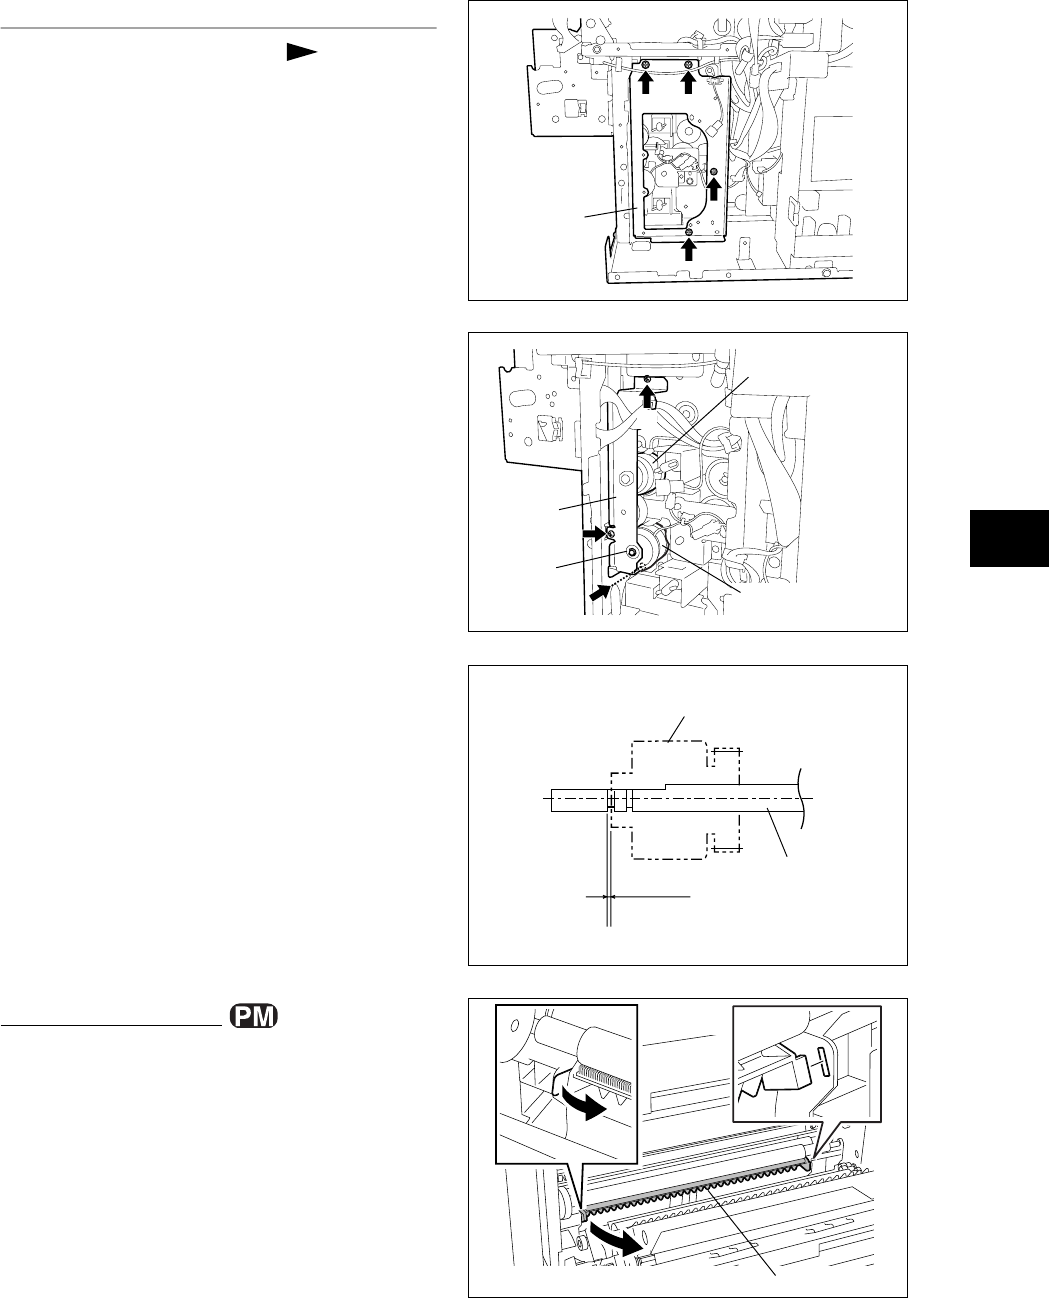
[H] Registration guide
(1) Pull out the registration guide by holding its tab
on the front side.
(2) Clean the paper dust removal brush attached
on the registration guide.
Note: When taking off the registration guide, pay
attention not to drop the removed paper
dust from the brush into the inside of the
equipment.
Fig. 10-452
Registration guide